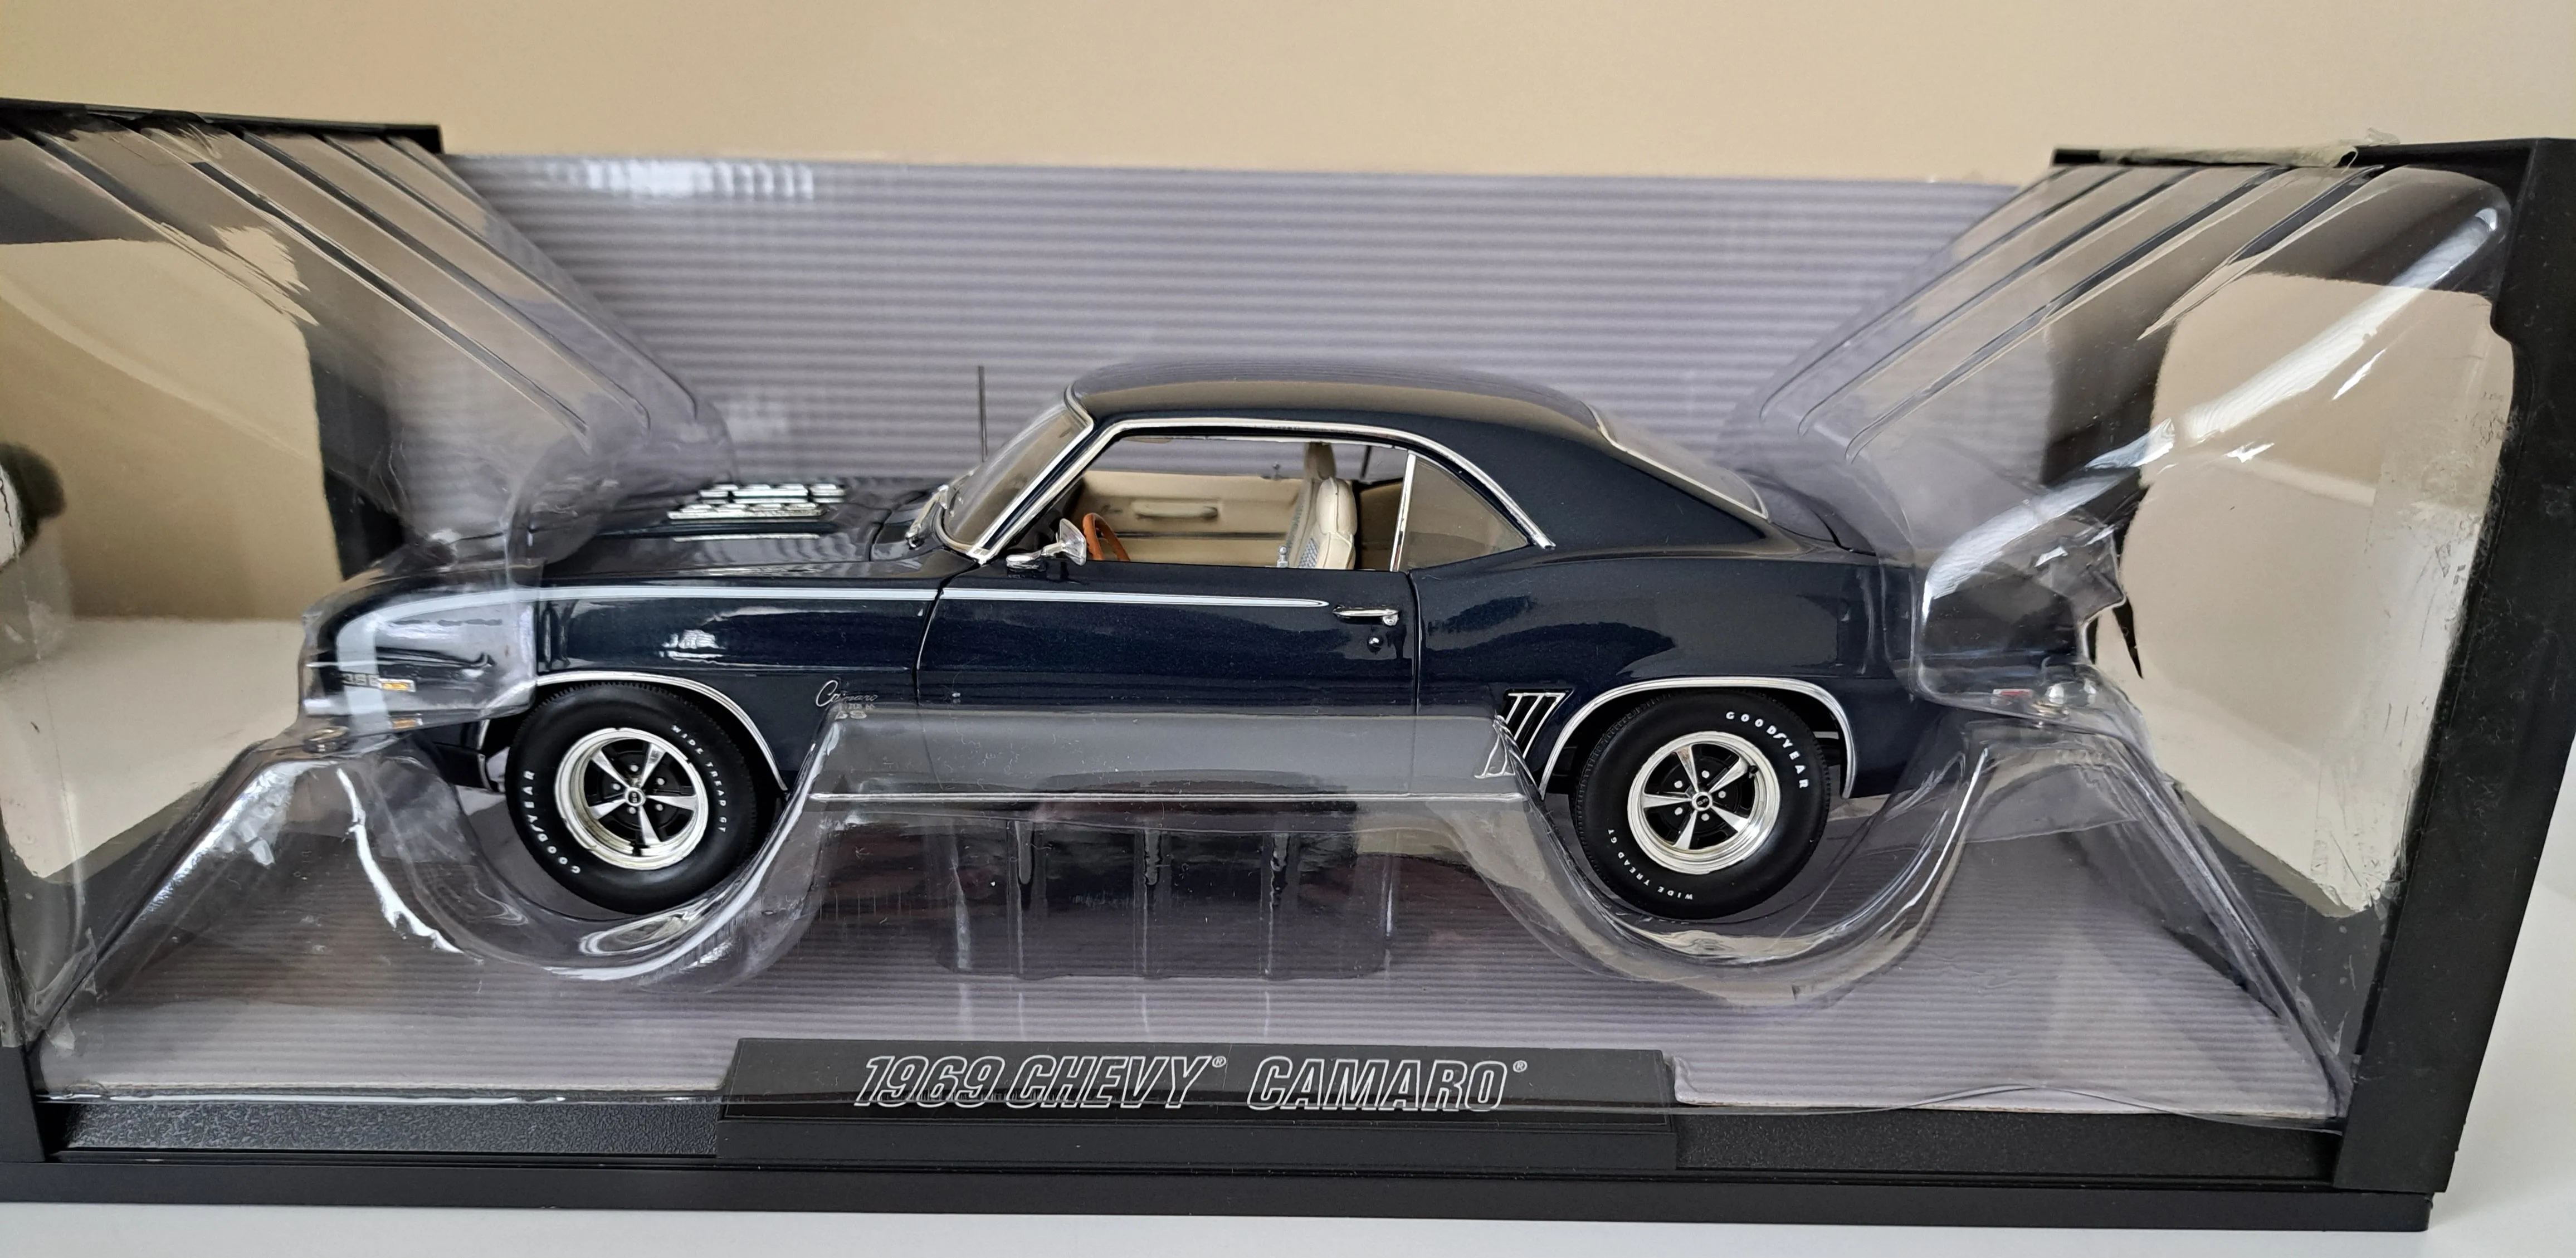
Diecast Model Unboxing Overview
Unboxing diecast models is more than just ripping open a box it’s a crucial part of the collecting process. The care taken during unboxing directly impacts the model’s condition, value, and your overall enjoyment. This guide provides essential tips and tricks to ensure a safe and satisfying unboxing experience, whether you’re a seasoned collector or just starting out. Mastering the art of unboxing protects your investment, allowing you to appreciate your models for years to come. The initial moments of revealing a new diecast model can be filled with anticipation and excitement, making it essential to proceed with precision and care to protect your models.
The Importance of Careful Unboxing
Careful unboxing is the cornerstone of preserving the value and condition of your diecast models. These models, often intricate and delicate, can be easily damaged during careless handling. Even minor scratches or broken parts can significantly decrease their value. Moreover, the unboxing process offers the first opportunity to inspect the model for any pre-existing defects that might have occurred during manufacturing or shipping. Taking your time ensures you don’t inadvertently cause damage and allows you to thoroughly examine your new acquisition. By prioritizing careful handling, you’re investing in the longevity and aesthetic appeal of your collection.
Preparing Your Workspace
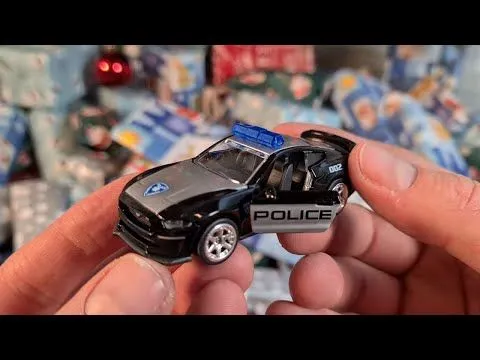
Before you even touch the packaging, setting up a clean and organized workspace is paramount. Choose a well-lit area with a stable surface, such as a table covered with a soft, protective mat or cloth. This prevents scratches and provides a safe environment for your models. Ensure your hands are clean to avoid transferring oils or dirt onto the model’s surface. Having everything you need within easy reach – the right tools, a camera, and potentially a display case – will streamline the process and minimize the risk of accidents. The goal is to create a controlled environment where you can focus on the unboxing without distractions.
Gathering Essential Tools
Having the right tools can make unboxing a breeze. Essential items include a sharp hobby knife or X-Acto knife for cutting tape and packaging, tweezers for handling small parts, and soft, lint-free cloths for wiping the model. Consider having a small container or tray to hold loose parts like mirrors or antennas. Also, a magnifying glass can be helpful for inspecting intricate details. Having all of these tools readily available will help you to unbox your diecast models efficiently. Having the right tools not only makes the process easier but also reduces the risk of damaging the model.
Tip 1 Inspect the Packaging
Before even opening the box, a thorough inspection of the packaging is crucial. Look for any signs of damage, such as dents, punctures, or tears, which could indicate potential damage to the model inside. Check the seal or tape to ensure it hasn’t been tampered with. Note any irregularities or issues before proceeding. Careful examination of the external packaging helps you identify possible damage issues. If there is visible damage to the box, consider taking photos before unboxing. This documentation can be invaluable if you need to file a claim with the seller or shipping carrier.
Checking for Damage
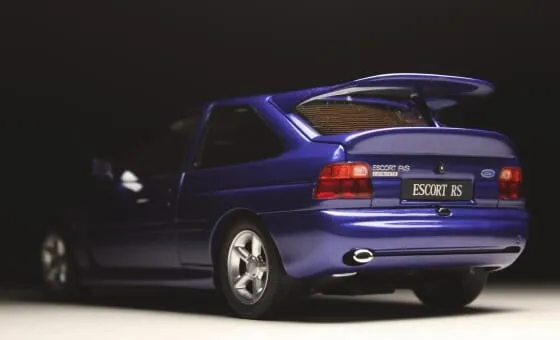
Once the packaging is open, immediately inspect the model for any visible damage. Check for scratches, paint imperfections, or broken parts. Pay close attention to fragile elements like mirrors, antennas, and small details. Use a magnifying glass if necessary to closely examine intricate areas. If you find any damage, document it immediately with clear photos or videos. Contact the seller or manufacturer as soon as possible to report the issue and explore your options for a replacement or refund. Thorough inspection is key to ensuring your model is in perfect condition.
Documenting the Packaging
Taking photos and videos of the packaging before and during unboxing is a smart practice. This documentation can be extremely helpful if you need to prove the condition of the model upon arrival. Capture images of the box from all angles, showing any damage or anomalies. As you unbox the model, continue to document the process, especially if you encounter any issues. This visual record serves as evidence of the model’s condition before you handled it. This can be very important when dealing with potential damage claims. This level of documentation not only protects your investment but also provides peace of mind.
Tip 2: The Blade of Choice
Choosing the right blade is critical to avoid damaging your diecast model. A sharp hobby knife or X-Acto knife is recommended for cutting tape and opening the packaging. Ensure the blade is sharp to make clean cuts. Using a dull blade increases the risk of slipping and scratching the model. Consider using a retractable blade knife for added safety, allowing you to control the blade’s exposure. A sharp blade will make it much easier to remove the model from the packaging. Always cut away from the model to minimize the risk of accidental cuts. Avoid using scissors, which can be less precise and pose a higher risk of damage.
Using a Hobby Knife
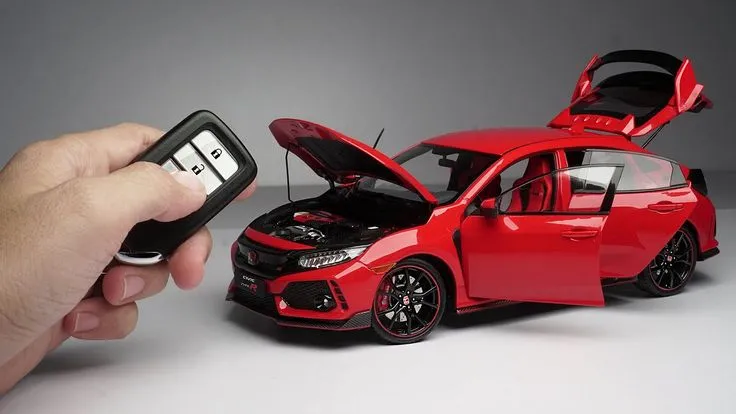
A hobby knife or X-Acto knife provides the precision needed for controlled cutting. When using a hobby knife, hold it at a slight angle and use gentle pressure. Make slow, deliberate cuts to avoid slipping. Be cautious around corners and edges. If the packaging is particularly tough, avoid forcing the blade. Instead, make multiple passes, gradually cutting through the material. Change the blade frequently to maintain sharpness, as a dull blade can increase the risk of accidents. Ensure your hands are dry and clean for a secure grip and better control. Always cut on a cutting mat or protected surface.
Avoiding Accidental Cuts
Preventing accidental cuts is a top priority during the unboxing process. Always cut away from the model. Position the model so you have a clear view of the cutting area and use controlled, deliberate motions. Never rush the process. Take your time and focus on precision. Consider using a cutting mat to protect the surface beneath the model. If you are unsure about a cut, stop and reassess. Don’t hesitate to change the cutting angle. Keeping the blade sharp and paying attention to your movements will dramatically reduce the chance of damaging your model during unboxing.
Tip 3: Protective Handling
Handling your diecast model with care is essential. Wear clean, soft gloves to prevent fingerprints and oils from your hands from marring the finish. When handling the model, support it from multiple points to distribute the weight and avoid putting stress on any single part. Avoid touching the model’s painted surfaces as much as possible. Handle the model gently and avoid dropping it or setting it down on a hard surface. Protective handling reduces the risk of scratches, dings, and other types of damage. This approach helps preserve the model’s appearance and its value.
Wearing Gloves

Wearing gloves, preferably soft, lint-free cotton gloves, is an excellent practice. Gloves provide a barrier between your hands and the model’s surface. They protect against fingerprints, oils, and scratches. Gloves enhance your grip, reducing the risk of the model slipping from your grasp. Choose gloves that fit comfortably and allow you to maintain a good sense of touch. They ensure that handling the model is a more controlled and safer experience. The investment in gloves is a small price to pay for the added protection they provide.
Proper Grip and Support
When holding the model, use a proper grip to provide support and stability. Avoid gripping the model tightly, which could lead to damage. Instead, cradle the model with both hands, distributing the weight evenly. Support the model’s base or chassis whenever possible, particularly when handling larger models. Be mindful of fragile parts like mirrors, antennas, and small details. Avoid applying pressure to these areas. Proper support will minimize stress on the model and reduce the risk of any accidental breakage. Focus on a secure and comfortable grip for safe and enjoyable handling.
Tip 4: Careful Removal
The process of removing the model from its packaging requires patience and precision. Carefully assess how the model is secured to the base. Some models are screwed in, while others use plastic ties or adhesive. Gently loosen any screws and carefully detach any ties. Be mindful of delicate parts that might be easily broken during removal. If the model is glued to the base, try to gently pry it loose using a soft tool. Take your time and avoid forcing anything. The goal is to remove the model without causing any damage. Carefully removing the model from its packaging is a key step in the unboxing process.
Removing from the Base
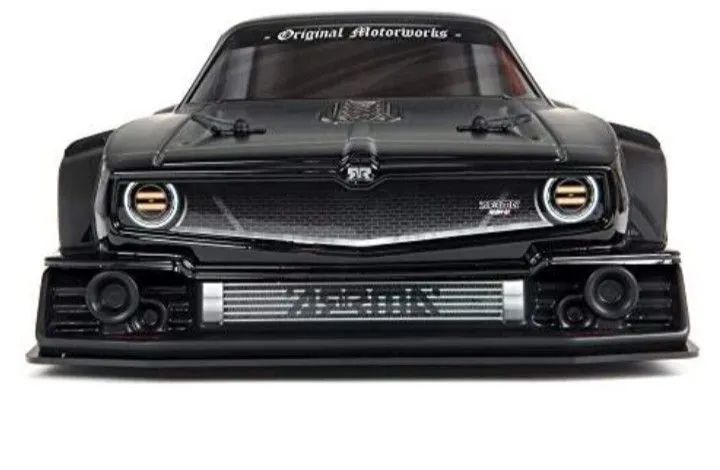
When removing the model from its base, take your time. Locate any screws or fasteners that secure the model. Use the appropriate screwdriver to carefully unscrew them. If the model is attached with plastic ties, carefully cut them with a sharp hobby knife. Be extremely careful not to scratch the paint. If the model is glued to the base, gently try to separate the base from the model. If it is stuck, use a thin, non-abrasive tool to carefully pry the model from the base. Never force the model. Proceed slowly and carefully. Patience and precision are key to removing the model safely.
Dealing with Accessories
Diecast models often come with accessories, such as mirrors, antennas, and extra parts. These accessories are usually packaged separately. Carefully remove these parts and keep them in a safe place. Refer to the model’s instructions for any required assembly or attachment. Be gentle and avoid applying excessive force. If any parts seem particularly fragile, handle them with extra care. Keep the accessories separate from the model until you’re ready to display or store them. Document the accessories with photos and keep the original packaging in case you need to store them. Proper handling of accessories ensures that they remain intact and can be used for display.
Tip 5: Documentation and Photos
Taking detailed photos and videos during the unboxing process is a smart practice for preserving the model’s value and condition. This can be extremely helpful if you encounter any damage or defects. Photograph the packaging before opening it. Then, capture the model from various angles, highlighting details and any potential flaws. A well-lit environment is essential for high-quality photos. A video of the unboxing process can also be very useful. This provides a complete record of the process. Documentation creates an irrefutable record of the model’s initial condition. These images will be invaluable in the event of any issues.
Taking High-Quality Photos
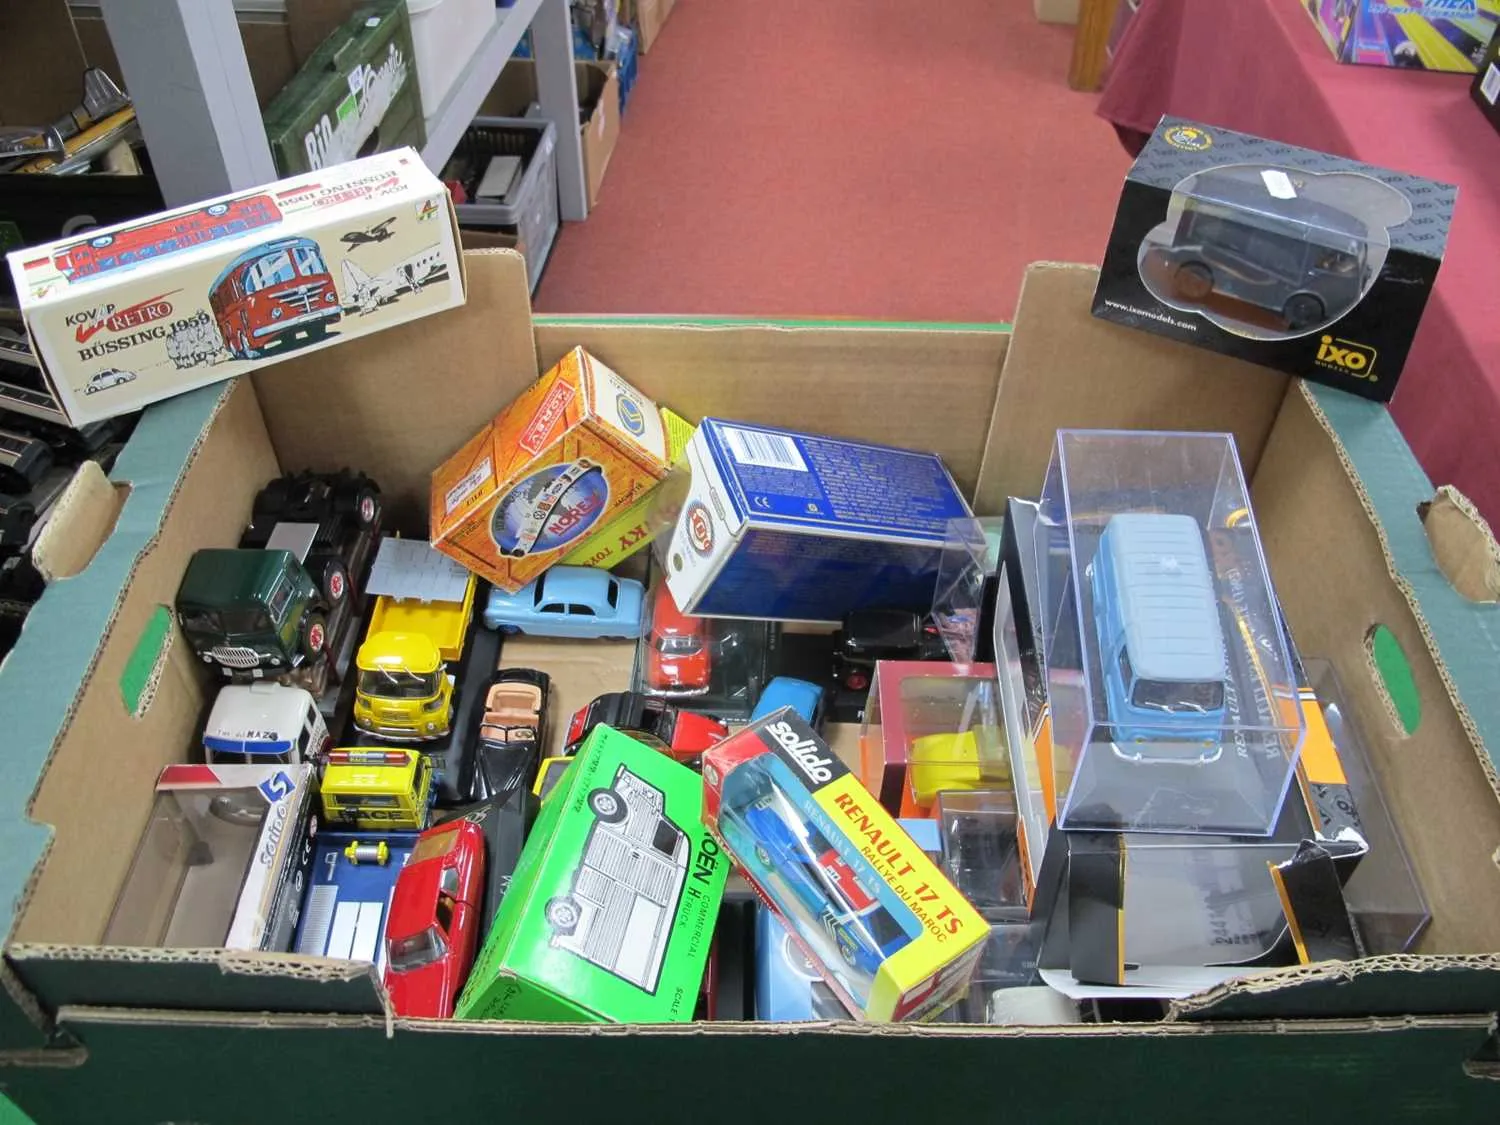
To take high-quality photos, start with a well-lit environment. Natural light is ideal, but if that’s unavailable, use a soft light source to avoid harsh shadows. Ensure your camera has a high resolution. Take photos from multiple angles. Use a tripod to keep the camera steady. Focus on the model’s details. Experiment with different angles to showcase the model’s features. Take close-up shots of any areas you want to highlight or any flaws you find. Save your images in high resolution. Having a comprehensive photographic record will make it easy to document the condition of your model. Consider taking a photo with the model next to the original packaging to prove it’s the right model.
Creating a Unboxing Video
Creating a video of the unboxing process can be a fun and valuable way to document the condition of your diecast model. Use a stable camera setup to record the entire process from start to finish. Speak clearly to narrate the unboxing steps and highlight any specific features. Show the packaging, the tools you are using, and every step of the unboxing. Zoom in on any details or potential damage. A video recording provides a more comprehensive record of the unboxing. You can also share this video with fellow collectors or on social media. This can be a great way to showcase your new model and the unboxing process.
