Choosing the Right Tamiya Diecast MotoGP Kit
Embarking on the journey of building a Tamiya diecast MotoGP model can be incredibly rewarding. The first step involves selecting the perfect kit that aligns with your interests and skill level. Tamiya offers a diverse range of MotoGP models, each capturing the essence of iconic motorcycles. When choosing a kit, consider the specific bike you’re passionate about – perhaps a Yamaha YZR-M1, a Honda RC213V, or a Ducati Desmosedici. Researching different kits will help you understand the level of detail and the complexity of the build. Reading reviews and looking at completed models online can also provide valuable insights. Moreover, think about the scale of the model, as it impacts the overall size and detail. Choosing the right kit sets the foundation for a successful and enjoyable modeling experience.
Understanding Scale and Detail
Scale plays a crucial role in diecast modeling, affecting the model’s dimensions, detailing, and the overall building experience. Tamiya’s MotoGP kits come in various scales, and understanding these scales is essential for making an informed choice and appreciating the final outcome. The scale determines the ratio between the model’s size and the actual motorcycle’s size. Larger scales typically offer more detail, making them suitable for experienced modelers who enjoy intricate work. Smaller scales are often easier to manage and can be ideal for beginners or those with limited space. The detail level in a diecast model is closely related to its scale, with larger scales allowing for more intricate features and realistic representations. Factors such as part counts, decal complexity, and the availability of aftermarket upgrades also vary depending on the scale.
Common MotoGP Scales

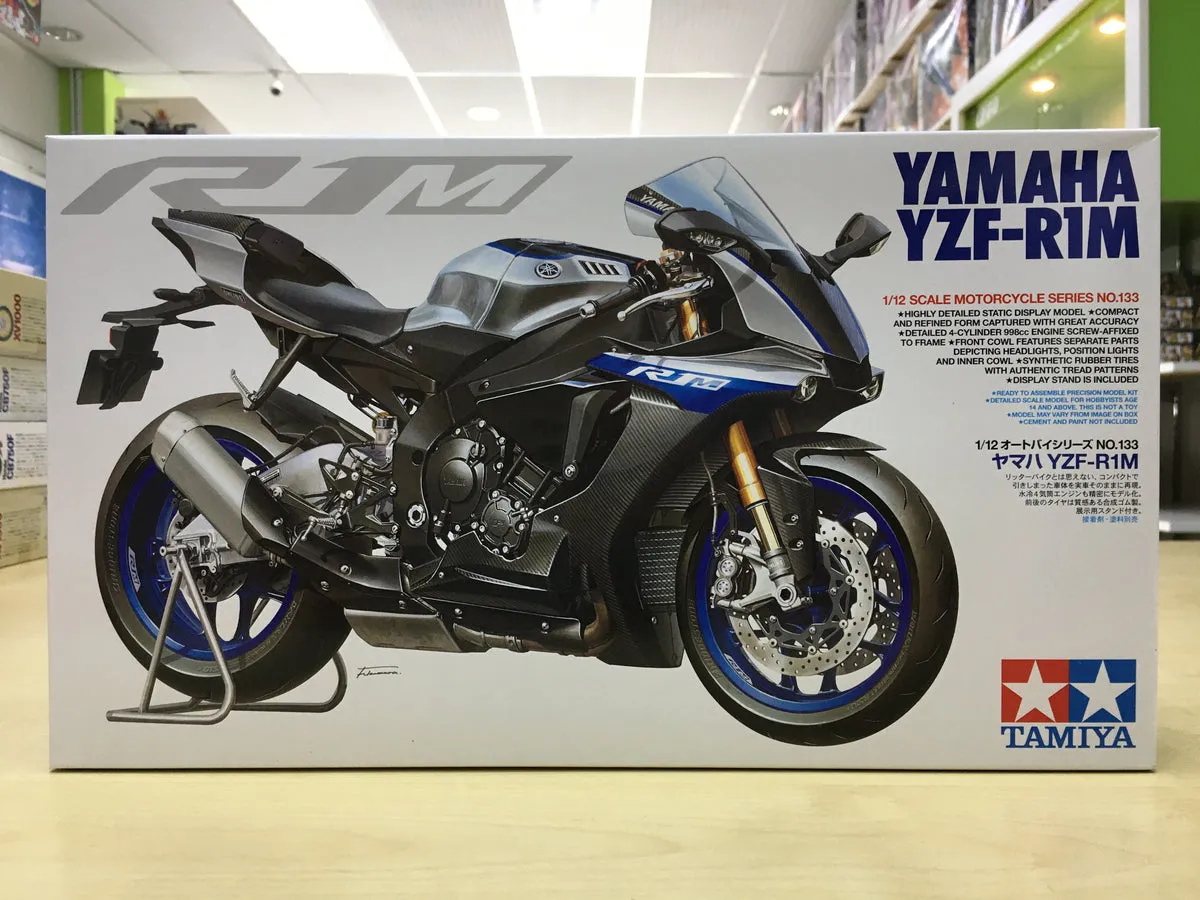
The most popular scales for Tamiya MotoGP models are 1:12 and 1:24. 1:12 scale models are known for their impressive detail and size, providing ample space for intricate detailing and realistic features. They are popular amongst experienced modelers who value accuracy and realism. 1:24 scale models are usually smaller and more compact, making them ideal for beginners or modelers with limited space. Although smaller, they still offer a good level of detail and can be a great introduction to the world of diecast modeling. Other scales may exist, but these two are the most prevalent in the Tamiya MotoGP kit lineup. Researching different scales ensures you select a model that matches your preferences and experience level.
Detailing Your Tamiya MotoGP Model
Detailing is where your Tamiya diecast MotoGP model truly comes to life. Tamiya kits are known for their accuracy, but adding extra details elevates the realism and visual appeal. This involves enhancing the model with aftermarket parts, modifying existing components, and using advanced techniques. Consider adding photo-etched parts, which offer incredibly thin and detailed elements such as brake discs, chain links, and radiator meshes. These parts enhance the model’s realism by providing a higher level of detail than the original plastic parts. Another aspect of detailing is modifying existing components, which can involve reshaping parts, adding missing details, or replacing them with more accurate ones. Using a variety of paints, weathering techniques, and decals can further enhance realism. Invest in quality tools, such as fine-tipped brushes, tweezers, and magnifying glasses, to make detailing easier and more precise. The level of detailing you choose depends on your skill, time, and the desired outcome.
Painting Techniques for Tamiya MotoGP
Painting is a critical aspect of building a Tamiya diecast MotoGP model, transforming the plastic components into a realistic representation of a MotoGP motorcycle. Proper painting techniques require understanding various steps, from preparing the surface to applying the final clear coat. Start by carefully cleaning and preparing the model’s parts, using a primer to create an even surface for the paint to adhere to. Choosing the right type of paint is also crucial. Acrylic paints are popular due to their ease of use and ability to be thinned with water, making them ideal for beginners. Enamel paints offer durability and a glossy finish, while lacquer paints provide a highly detailed finish. Practicing your techniques on a test piece is highly recommended.
Primer and Base Coats

Before applying any color, a primer coat is essential. The primer acts as a base, ensuring the paint adheres properly to the plastic surface. It also helps to reveal any imperfections or flaws that need to be addressed before painting. Apply the primer in thin, even coats, allowing each coat to dry completely before applying the next. Once the primer is dry, it’s time for the base coat. Apply the base coat in thin layers, building up the color gradually. This helps prevent runs and ensures a smooth finish. Multiple thin coats are always better than one thick coat. This process is necessary for achieving a professional-looking finish on your Tamiya MotoGP model.
Color Application and Decals
Once the base coat is dry, it’s time to apply the main colors of the MotoGP bike. Use an airbrush for an even and professional-looking finish. The application of decals adds the final touches, including sponsor logos, racing numbers, and intricate graphics. Carefully cut out each decal and immerse it in water to loosen it from its backing paper. Apply the decals to the model using decal setting solutions to ensure they conform to the surface. Use a soft cloth or cotton swab to remove any air bubbles and create a seamless finish. After the decals are applied and dry, a clear coat will seal them in. A clear coat protects the paint and decals from damage and adds a glossy or matte finish, depending on your preference.
Weathering and Finishing Touches
Weathering techniques add realism to your Tamiya diecast MotoGP model by simulating the effects of wear and tear. These techniques include washes, dry brushing, and pigment powders. Washes are diluted paints that are applied to the model to emphasize details and create shadows. Dry brushing involves using a dry brush with a small amount of paint to highlight raised surfaces. Pigment powders are applied to create the appearance of dust, dirt, and rust. These techniques can greatly enhance the visual appeal of your model. The final touches may include adding small details, such as brake lines or electrical wiring, and applying a final clear coat to protect the paint and decals.
Assembling Your Tamiya MotoGP Diecast Model

Assembling your Tamiya MotoGP diecast model requires patience, precision, and the correct techniques. Start by carefully studying the instruction manual, as it’s your guide to the entire assembly process. Separate the parts from the sprue trees, using a sharp hobby knife or sprue cutters to minimize damage. Clean up any mold lines and imperfections. Test fit the parts before gluing them together to ensure a proper fit. Use the appropriate glue for each part. For plastic parts, plastic cement works best, while super glue is good for metal or resin parts. Allow the glue to dry completely before moving on to the next step. Follow the instructions, building the model step by step.
Preparing the Parts
Before assembling any part, prepare them properly. Remove the parts from the sprue tree, carefully using sprue cutters or a sharp hobby knife. Trim away any excess plastic and clean up mold lines. Use a file or sandpaper to smooth any rough edges. Test fit the parts to ensure a perfect fit. Make any necessary adjustments before gluing the parts together. This ensures the assembly process is smooth and that the final model looks its best. Properly prepared parts will lead to better results.
Glueing and Alignment
Glueing and aligning the parts properly is essential for a well-built model. Use the correct type of glue for the materials being joined. Apply the glue sparingly, avoiding excess that could damage the model. Align the parts carefully before the glue sets, ensuring they fit flush and that all the details line up. Use clamps or tape to hold the parts in place while the glue dries, especially for larger components. Be patient and allow the glue to dry completely before moving on to the next step. Proper glueing and alignment ensure that your Tamiya MotoGP diecast model is sturdy and visually appealing, making the build process smoother. Take your time and double-check everything before committing to the glue.
Displaying and Protecting Your Model

Once your Tamiya MotoGP diecast model is complete, you’ll want to display and protect it to preserve its beauty for years to come. The way you choose to display your model can enhance its presentation and showcase your hard work. A clean, well-lit display case is ideal for protecting your model from dust, sunlight, and accidental damage. Positioning your model thoughtfully on the display shelf is critical. Consider the lighting, angle of view, and how it relates to other items. Regularly cleaning and maintaining your model ensures that it remains in pristine condition, preserving its details and enhancing its lifespan. Whether you’re a seasoned modeler or a beginner, these display and protection tips will help you enjoy your Tamiya MotoGP model for years.
Choosing a Display Case
Selecting the right display case is crucial for protecting your Tamiya MotoGP model. Consider a clear acrylic case as a good option, offering excellent visibility while shielding the model from dust and UV light. Make sure the case size is appropriate for the scale of your model. The display case protects against dust and other environmental factors. Choose a case that suits your aesthetic preferences and fits seamlessly into your display space. Regularly cleaning the case keeps it free from dust and ensures your model remains visible.
Dusting and Maintenance
Regular dusting and maintenance are essential for preserving the appearance of your Tamiya MotoGP model. Use a soft brush or compressed air to remove dust, which can accumulate over time and obscure the details of your model. Avoid using harsh chemicals or abrasive cleaners, as they could damage the paint and decals. For any fingerprints or smudges, use a microfiber cloth to gently wipe the surface. Store your model in a cool, dry place away from direct sunlight. This will preserve the paint and prevent fading or discoloration. Proper care and maintenance ensure your Tamiya diecast MotoGP model continues to look its best for many years.