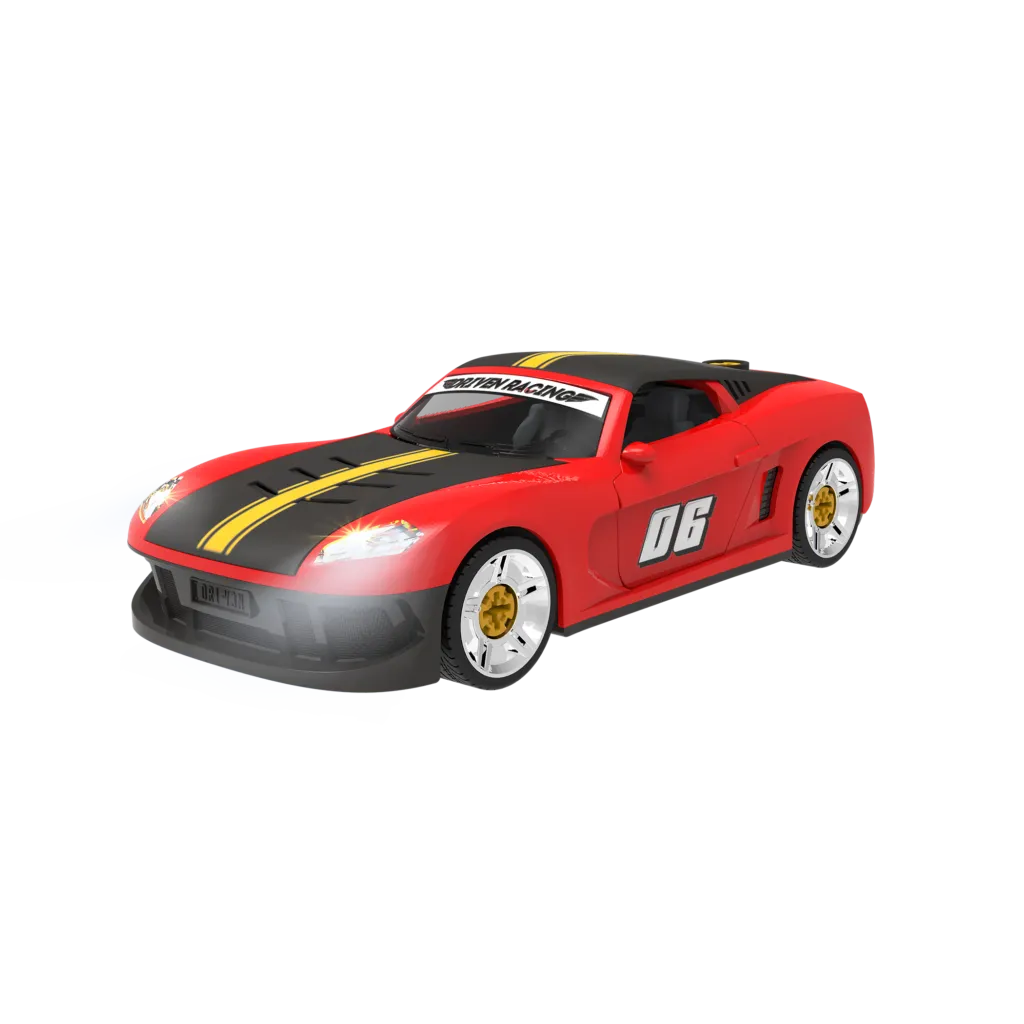
Diecast cars are more than just toys they are miniature marvels of engineering and design. Whether you’re a seasoned collector, a hobbyist looking to customize your models, or simply curious about how these intricate replicas are put together, this expert guide will walk you through the process of taking apart diecast cars safely and effectively. From understanding the different types of diecast cars to mastering the essential tools and techniques, we’ll cover everything you need to know to begin disassembling your models with confidence. This guide will not only help you take apart your models but also provide tips for reassembly and troubleshooting common issues, ensuring you can enjoy your hobby to the fullest.
Understanding Diecast Cars
Before you start taking apart diecast cars, it’s important to understand a bit about them. These miniature vehicles are typically made of metal, usually zinc alloy, and are designed to replicate real-life cars with remarkable detail. The level of detail and the materials used can vary widely depending on the manufacturer and the scale of the model. Different scales offer varying levels of complexity and detail, making some models more challenging to disassemble than others. Knowing the basics will help you approach the disassembly process with a clearer understanding of what you’re dealing with and the best way to proceed.
Types of Diecast Cars
Diecast cars come in a variety of types, each with its unique features and construction methods. Some popular types include classic cars, modern sports cars, trucks, and even emergency vehicles. The complexity of disassembly can vary greatly depending on the type of car. For example, models with more intricate interior details or functional parts like opening doors and hoods might require more careful handling. Understanding the specific type of diecast car you’re working with is crucial for identifying potential challenges and preparing the necessary tools and techniques for a successful disassembly. Consider the model’s design and features before you begin to avoid causing damage.
Scale and Detail
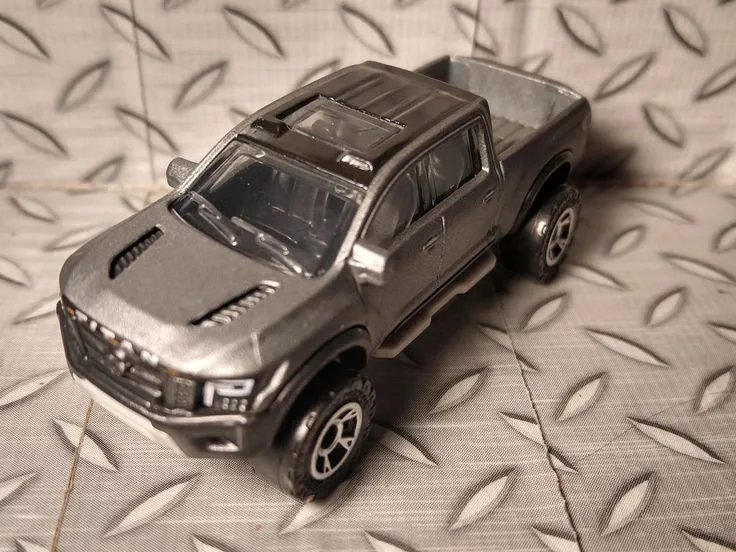
Diecast cars are made in different scales, such as 1 18, 1 24, and 1 43. The scale refers to the ratio of the model’s size to the actual car. Larger scales, like 1 18, often have more detailed interiors and functional parts, making them more complex to take apart. Smaller scales might be simpler in construction but still require precision. The level of detail also varies; some models have intricate engine compartments, detailed dashboards, and realistic interiors, while others may be simpler. The more detailed the model, the more care you’ll need to take during disassembly. It’s always wise to research the specific model and scale you’re working with to anticipate its design and construction.
Tools Needed to Take Apart a Diecast Car
Having the right tools is essential for safely and effectively taking apart a diecast car. Using the correct tools prevents damage to the model and makes the process much smoother. Basic tools like screwdrivers are a must, but you might need specialized tools depending on the model’s construction. Taking the time to gather these items will save you from potential frustration and ensure the process goes well. Proper tool selection is just as important as technique when you want to take apart diecast cars.
Essential Tools
The essential tools for disassembling diecast cars include a set of small screwdrivers, often with both Phillips head and flathead tips. Precision screwdrivers are extremely useful for handling the tiny screws commonly found in these models. You will also need a small hobby knife or a craft knife to carefully pry apart glued parts or remove any unwanted flash or plastic. Tweezers, especially those with a fine point, are helpful for grabbing small parts or removing screws in tight spaces. A soft cloth or mat to protect the model’s surface from scratches is also a must. Consider having a small container or tray to keep track of all the screws and parts. Some models may require additional tools, but these are the primary tools for taking apart diecast cars.
Safety Gear
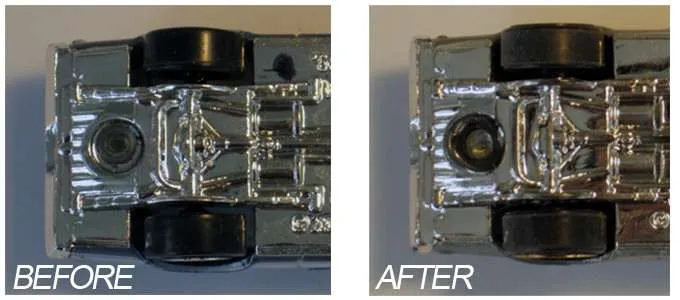
Safety should always be a priority when you are taking apart diecast cars. It is advisable to wear safety glasses to protect your eyes from small parts or any potential debris. Work in a well-lit area to ensure you can see all the details and avoid mistakes. A well-ventilated space is also recommended, especially if you are using any adhesives or solvents. Having a first-aid kit nearby is a good precaution. Always handle sharp tools with care and avoid applying excessive force. Taking precautions ensures a safe and enjoyable experience while you take apart diecast cars.
Step-by-Step Disassembly Guide
Disassembling a diecast car is a methodical process. Follow these steps carefully to ensure a successful disassembly. Take your time, be patient, and document each step to help with reassembly. Start by inspecting the car and identifying all the screws and attachment points. This will help you prepare for the disassembly. Following the steps carefully will help you when you want to take apart diecast cars.
Preparing the Car
Before you start, place the diecast car on a soft surface to protect its finish. Take photos or videos of the car before you begin to document the original state, which will be valuable for reassembly. Carefully inspect the car to identify screws, clips, and any other attachment points. Organize your workspace and gather all the necessary tools. Ensure you have a clear, well-lit area to work in. Preparing in advance will make the disassembly process much easier. Remember to take your time and proceed methodically. This helps when you want to take apart diecast cars.
Removing the Wheels
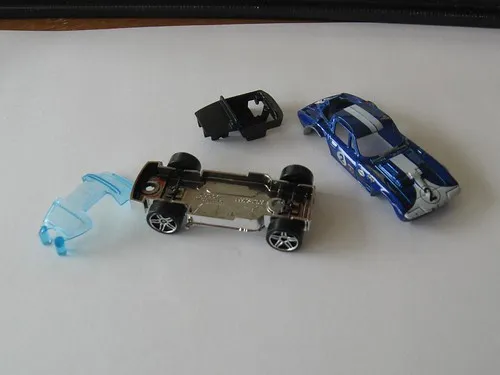
The wheels are usually attached to the chassis with small screws or axles. Carefully examine the wheel assembly to determine how they are secured. Using the appropriate screwdriver, gently remove any screws holding the wheels in place. If the wheels are attached with axles, you may need to use tweezers to carefully pull them out. Be careful not to damage the axles or the wheel wells. Once the wheels are removed, set them aside in a safe place. Properly removing the wheels is the first step when you want to take apart diecast cars.
Separating the Body
After removing the wheels, you can separate the body from the chassis. Look for screws or clips that secure the body to the chassis. Carefully remove these screws or detach the clips. Sometimes, the body may be glued to the chassis. If this is the case, use a hobby knife to gently separate the body from the chassis. Work slowly and apply gentle pressure to avoid bending or breaking any parts. Once the body is separated, handle it carefully to avoid scratches or damage. Properly separating the body is important when you want to take apart diecast cars.
Disassembling Interior Components
Once the body is separated, you can begin disassembling the interior components. These may include seats, dashboards, steering wheels, and other details. Look for small screws or clips that hold these parts together. Carefully remove these fasteners and gently detach the components. Be mindful of small parts that could be easily lost. It is helpful to have a small container to put the parts so you can keep track of them. You may encounter glued parts, so take extra care when separating these items. Disassembling the interior components carefully is very important when you want to take apart diecast cars.
Dealing with Glued Parts
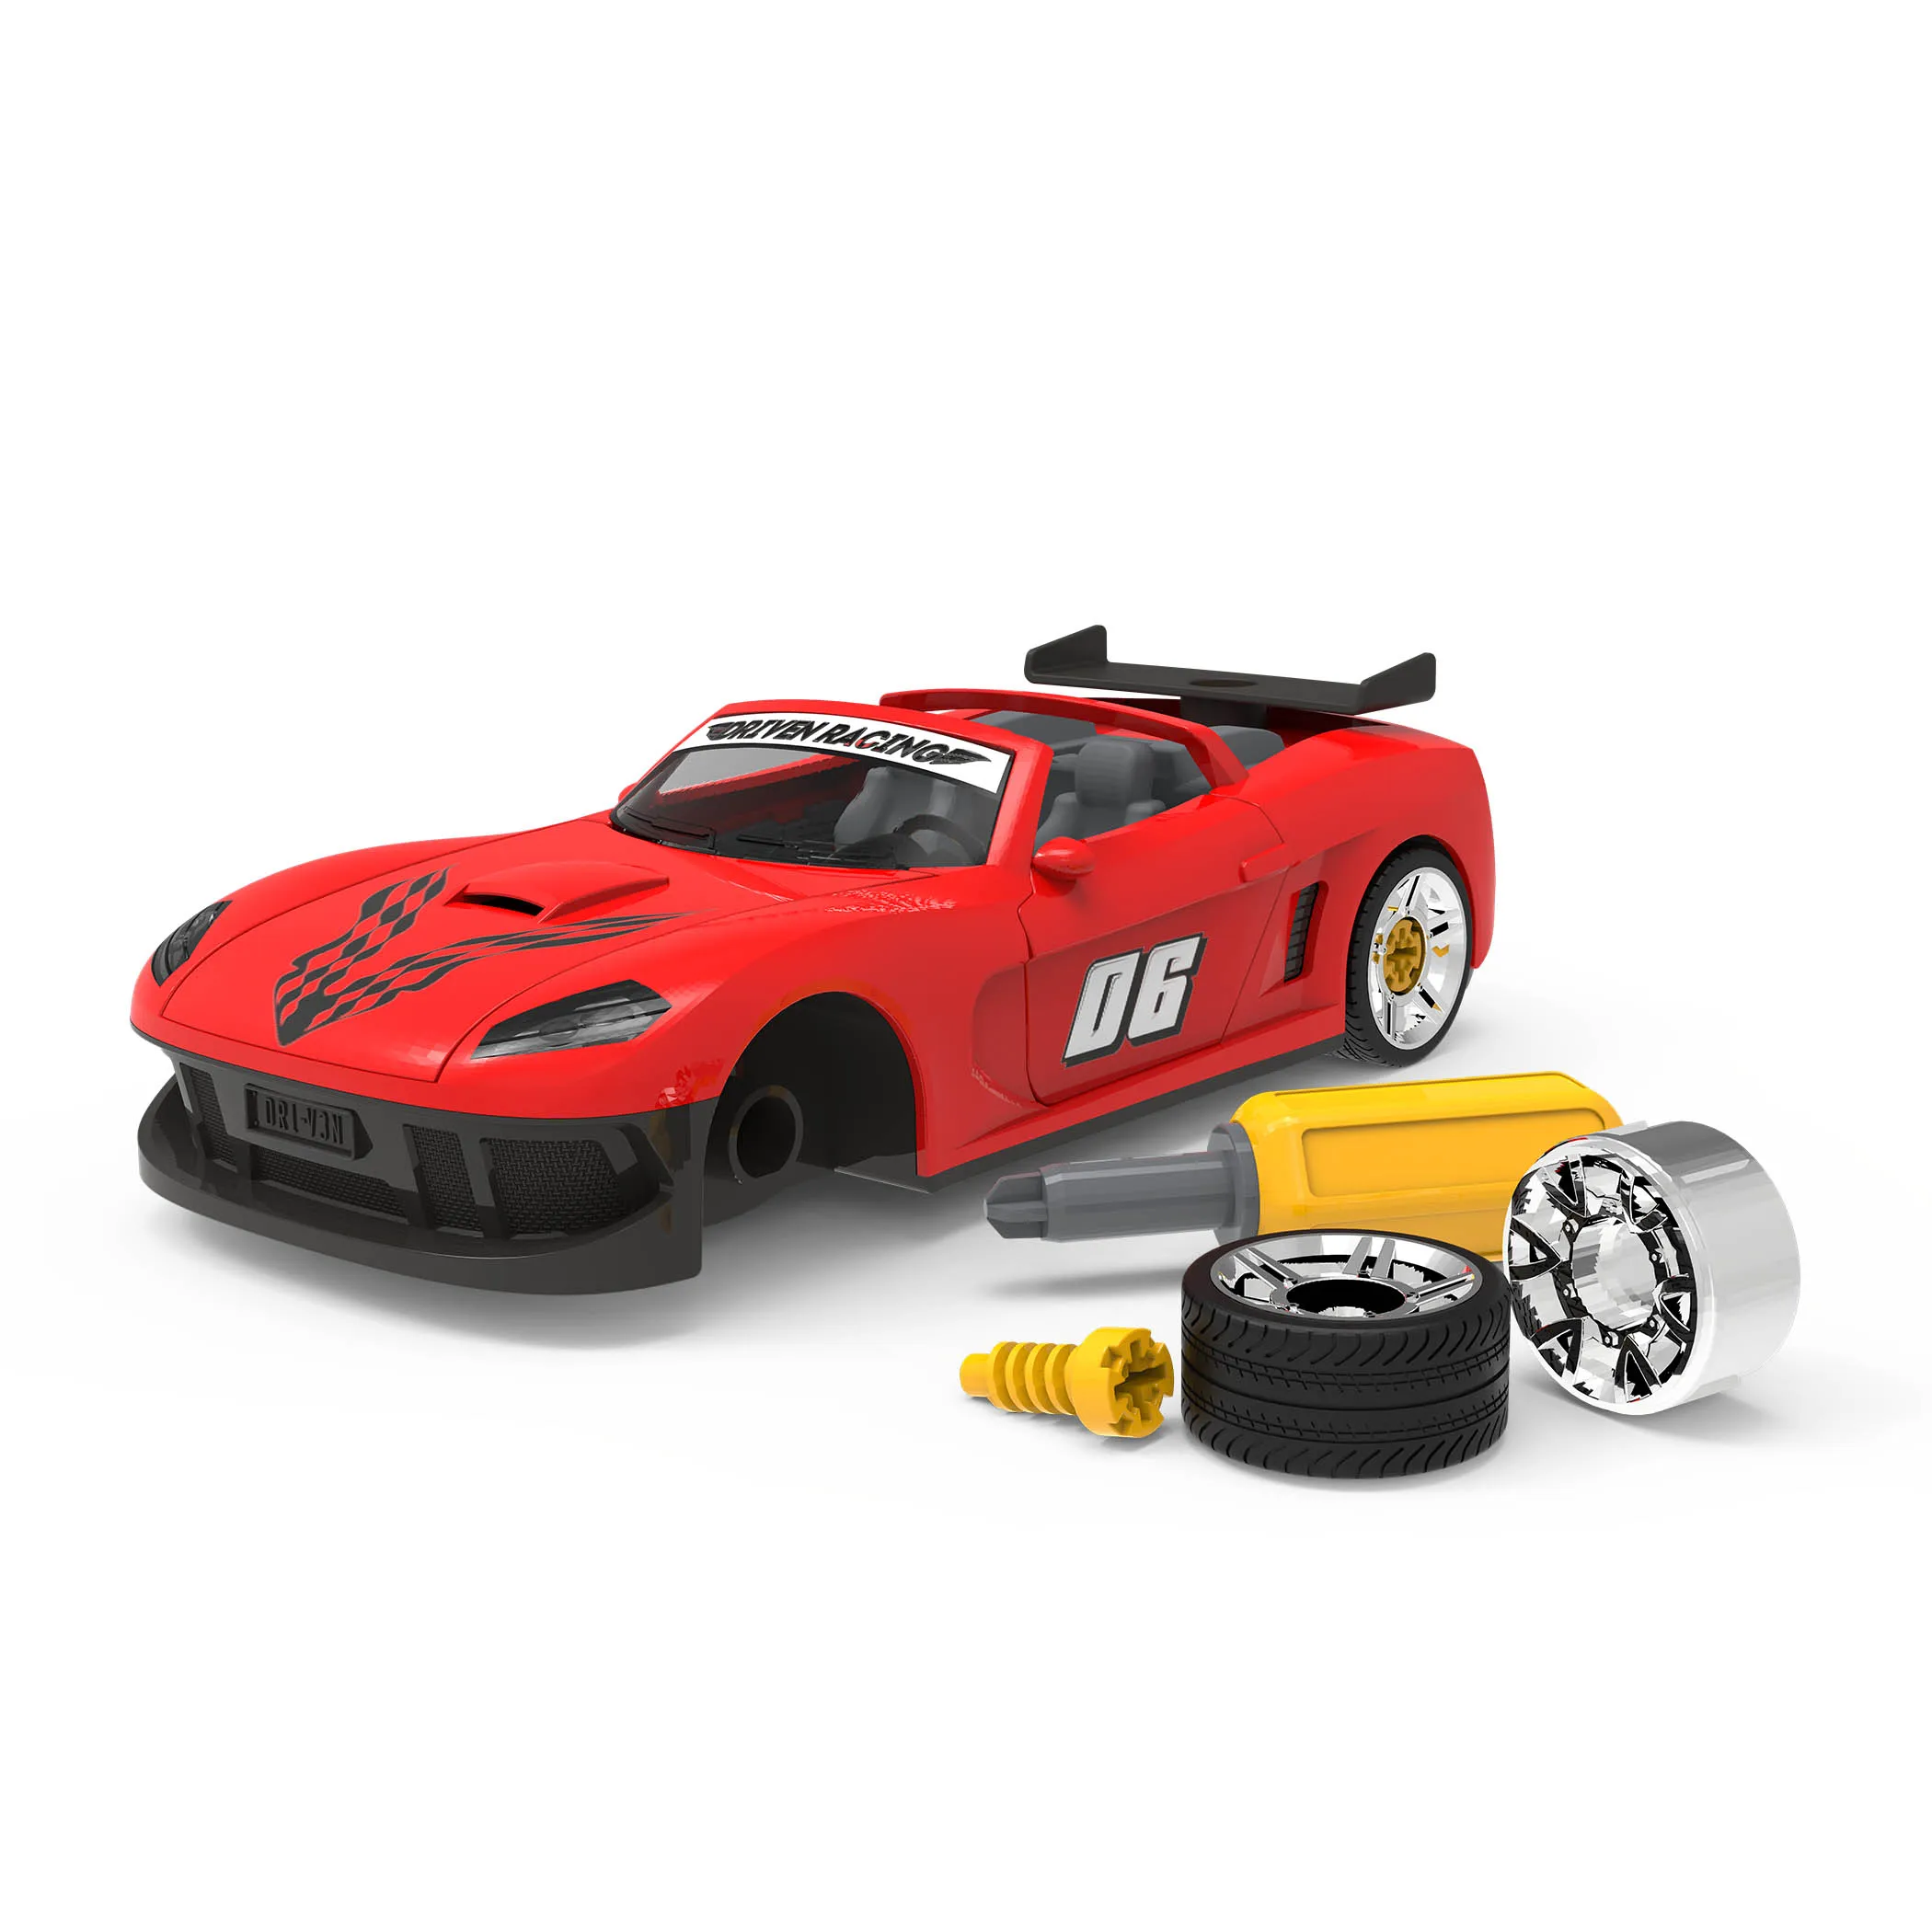
Many diecast cars use glue to secure certain parts. When dealing with glued parts, it’s important to proceed with caution. Use a hobby knife or craft knife to carefully separate the glued components. Insert the blade into the seam between the parts and gently pry them apart. Apply heat from a hairdryer or a heat gun on a low setting to soften the glue. Be cautious not to overheat the plastic. Avoid applying excessive force, as this can damage the parts. Patience is key when dealing with glue when you want to take apart diecast cars.
Reassembly Tips
Reassembling a diecast car requires careful attention to detail and patience. Following these tips will help you put your model back together successfully. Refer to the photos or videos you took during disassembly to guide the reassembly process. Having a clean workspace will help you avoid misplacing parts. If you take your time, you can successfully complete the reassembly process. Reassembly is easier if you follow these steps to take apart diecast cars.
Cleaning and Lubrication
Before reassembly, clean all the parts thoroughly. Use a soft brush and a mild soap solution to remove any dirt or debris. Make sure that you allow the parts to dry completely before you put them back together. Lubricate moving parts, such as axles and hinges, with a small amount of silicone-based lubricant to ensure smooth operation. Avoid using oil-based lubricants, as these can attract dust and grime. Cleaning and lubrication are important when you want to take apart diecast cars.
Putting It Back Together
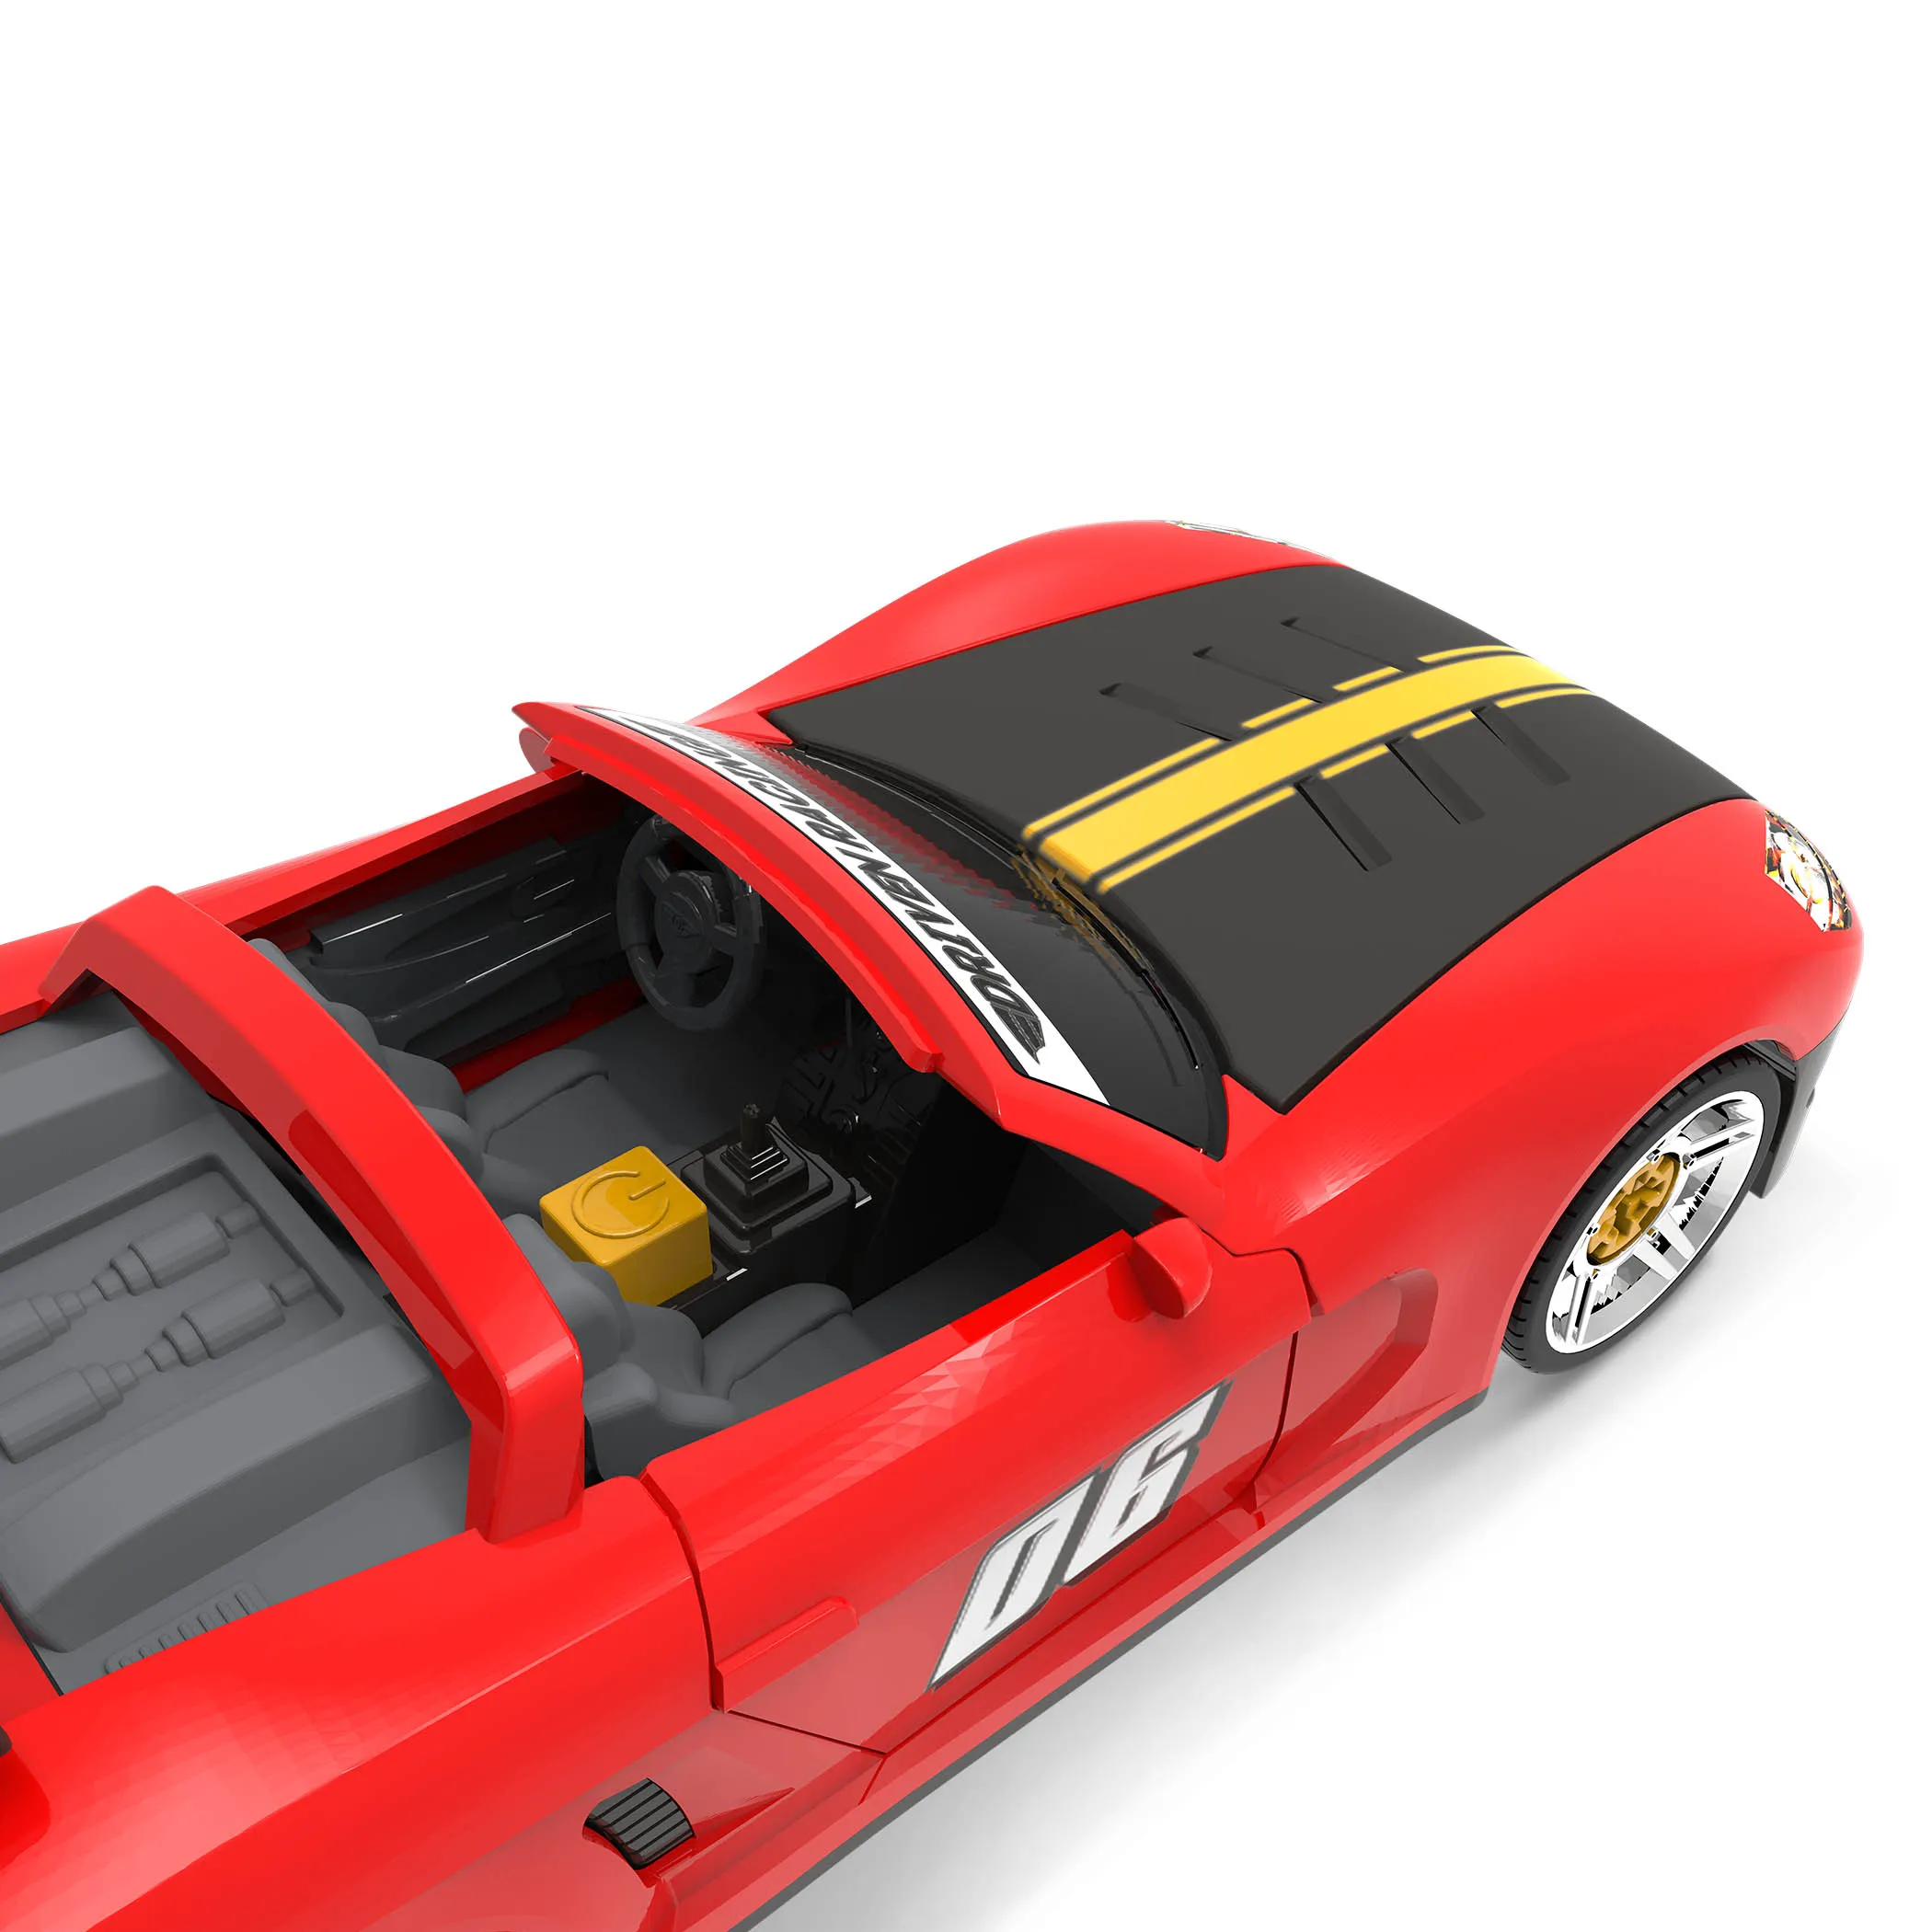
Begin by reattaching the interior components, following the reverse order of disassembly. Align the parts carefully and secure them with screws or clips. Attach the body to the chassis, making sure to align all the attachment points. Reinstall the wheels, ensuring they are securely in place. Double-check all the screws and connections to ensure everything is secure. Take your time and work methodically to avoid mistakes. Putting it back together is easier if you have taken your time when you want to take apart diecast cars.
Common Problems and Solutions
Even with careful planning, you may encounter some common problems during disassembly. Here are some solutions to help you resolve those problems. Knowing these issues can save you from potential frustrations. Having the right tools and knowing the techniques can help you resolve any problems. Addressing these problems is part of the process when you want to take apart diecast cars.
Stripped Screws
Stripped screws are a common issue. If a screw is stripped, try using a larger screwdriver or a rubber band between the screwdriver and the screw head to increase friction. If the screw is still stripped, you can try using a screw extractor. Another method is to fill the hole with a material like glue and insert a new screw. Always work carefully, as stripping a screw can be frustrating, but it can often be fixed. Addressing stripped screws is part of the process when you want to take apart diecast cars.
Broken Parts
Broken parts are another common problem. If a part breaks, try to repair it with a suitable adhesive, such as super glue. In some cases, you may be able to find replacement parts online or from model car suppliers. When a part is broken, try to find a replacement part or use adhesive to repair the part. Being prepared for this can make it easier when you want to take apart diecast cars.
Where to Find Replacement Parts
Finding replacement parts for your diecast cars is an important aspect of the hobby. If you break a part or damage it during disassembly, it is important to know where to find replacement parts. Many online retailers specialize in model car parts. You can also check hobby shops and online marketplaces for parts. Depending on the rarity of the model, you may need to be patient. Knowing where to look helps a lot when you want to take apart diecast cars.
Taking apart diecast cars can be a rewarding hobby. By following these guidelines, you can learn how to disassemble your models safely and effectively. From understanding the different types of models to mastering the essential tools and techniques, this expert guide has given you the tools you need. Remember to take your time, be patient, and enjoy the process of learning to take apart diecast cars. With practice, you’ll be able to customize and repair your models with confidence, bringing your collection to the next level.
