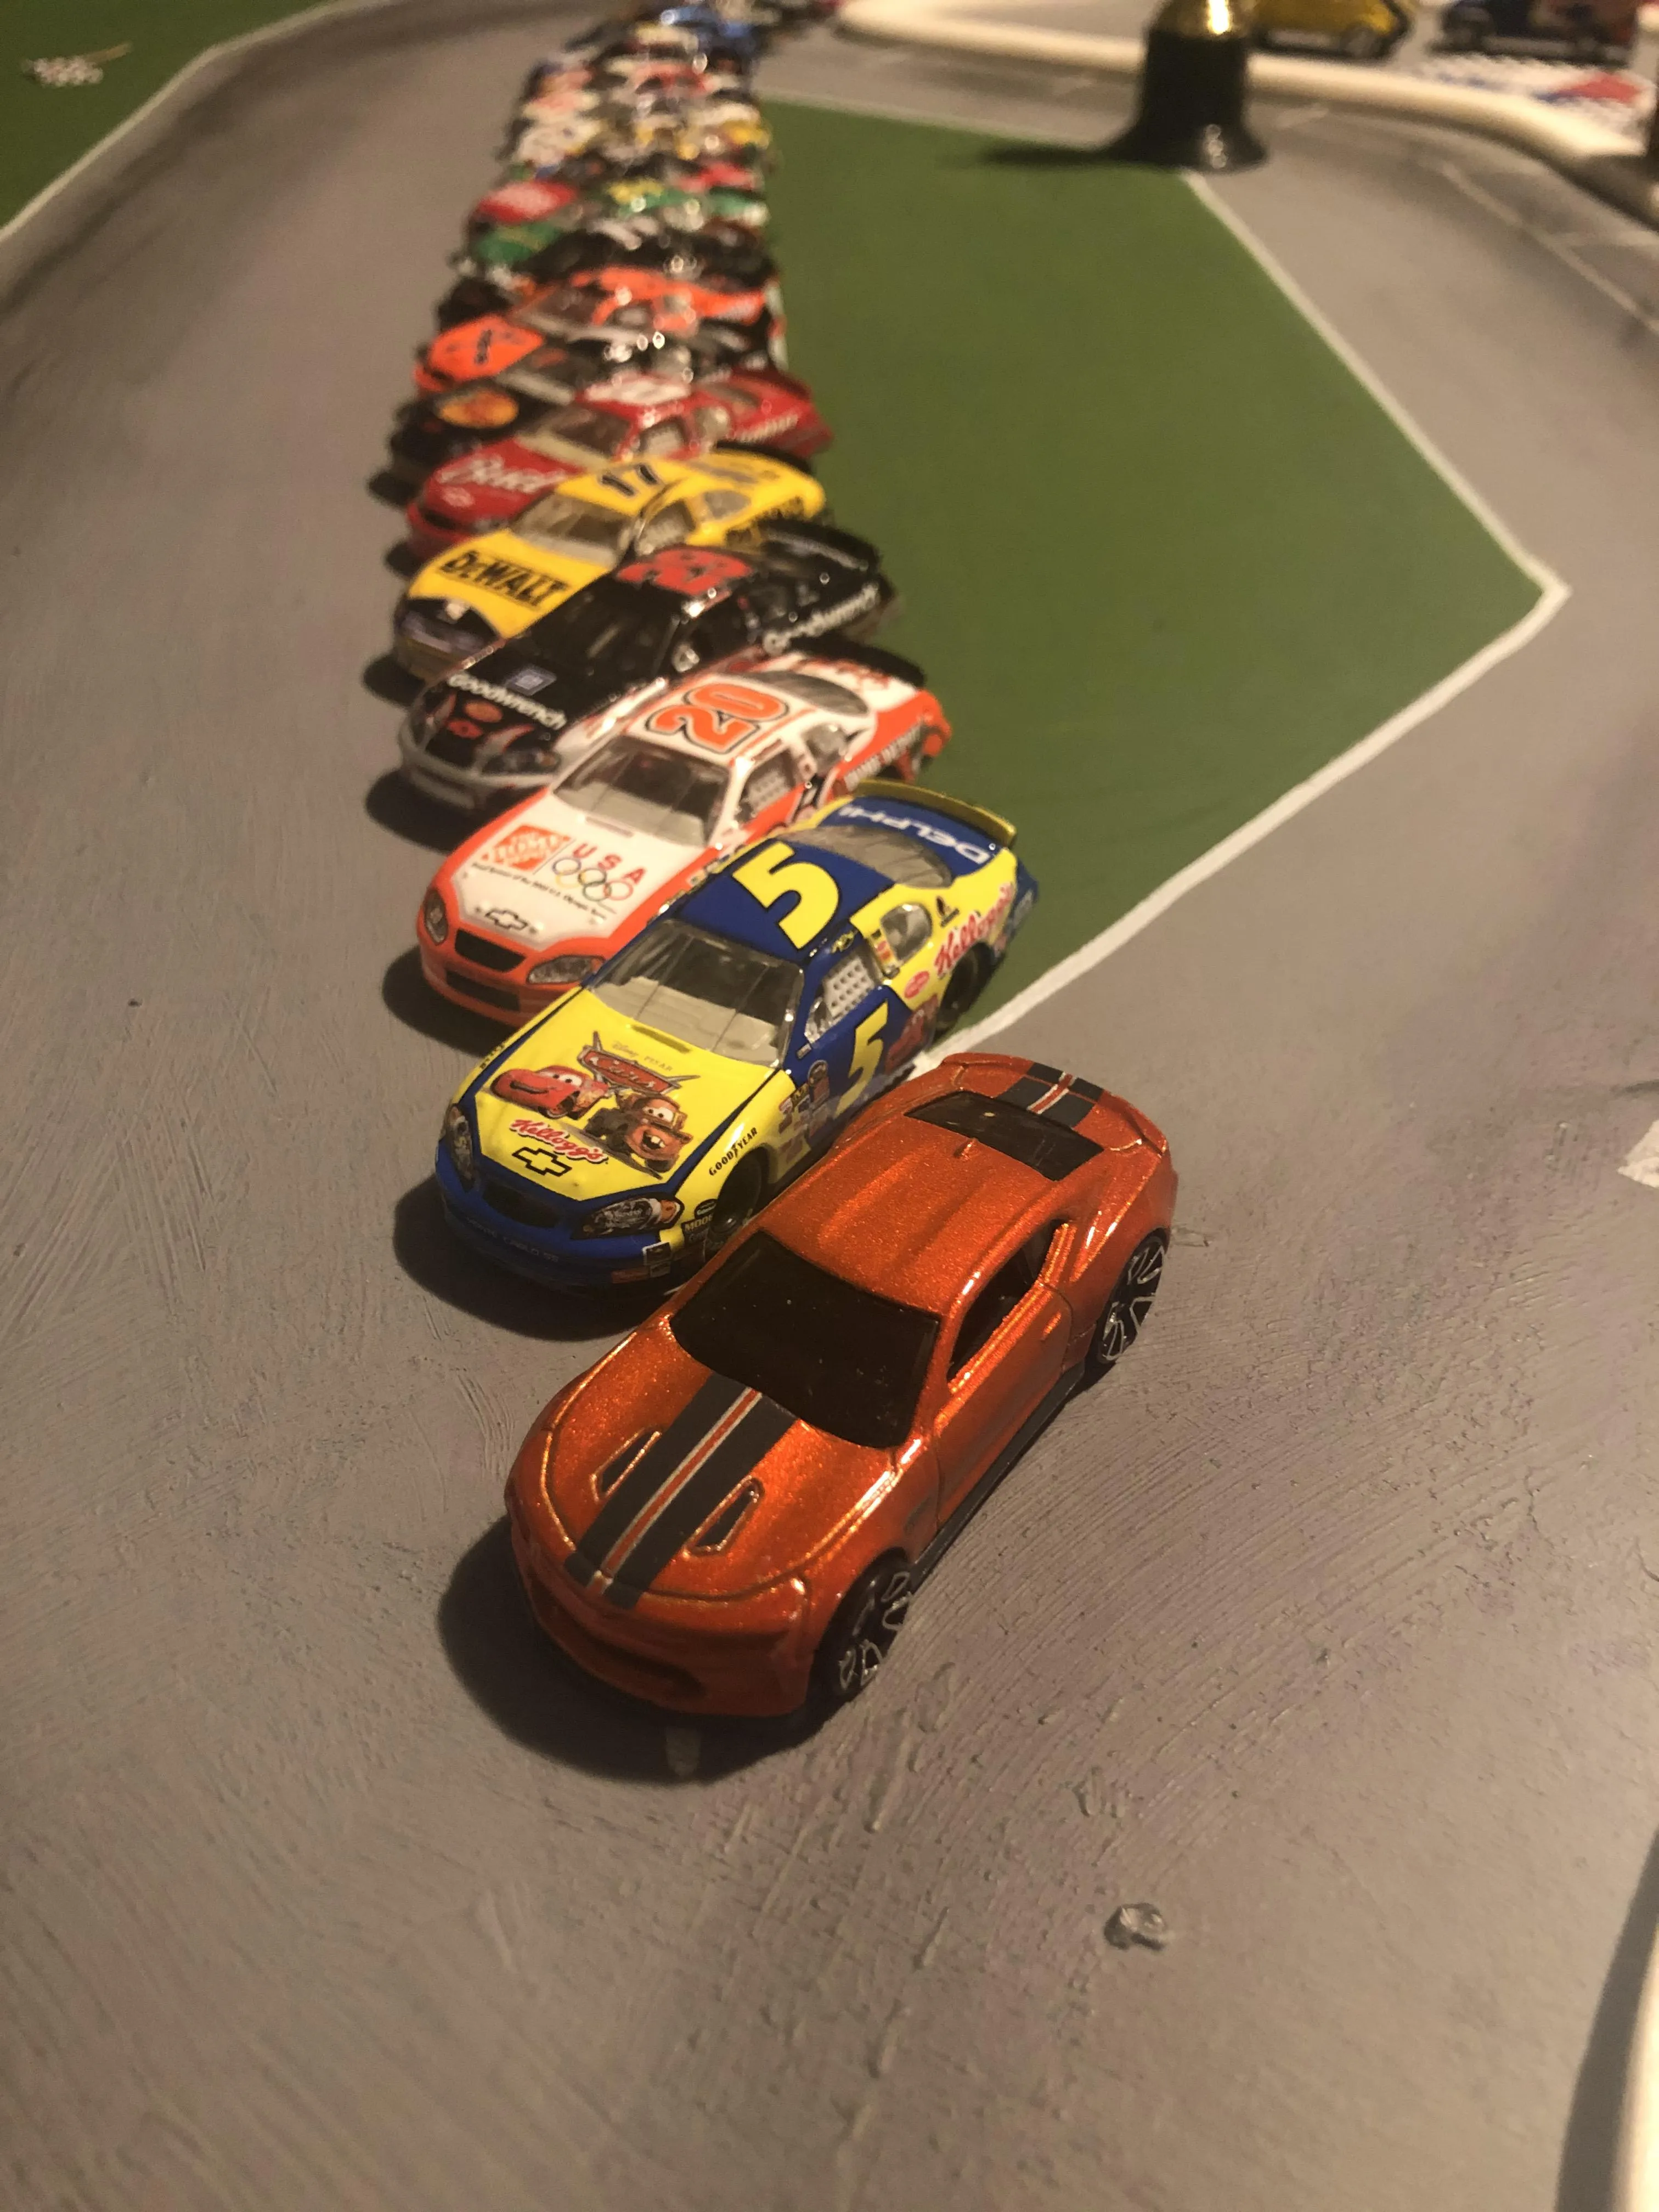
What is Nascar Diecast Stop Motion?
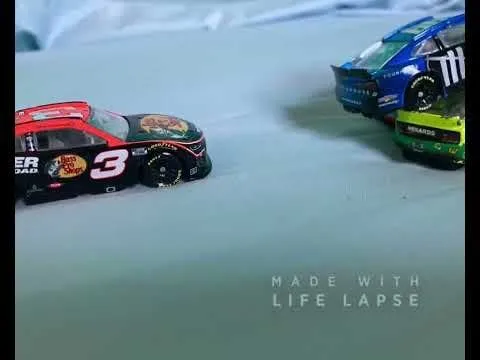
Nascar diecast stop motion is a captivating form of animation that brings miniature Nascar race cars to life. It’s a creative process where you manipulate diecast models incrementally, photographing each slight change in position. When these photos are played in sequence, they create the illusion of movement, resulting in a unique and engaging video. This technique allows you to tell stories, recreate iconic race moments, or create entirely new scenarios using your favorite Nascar diecast cars. The beauty of stop motion lies in its accessibility and the endless possibilities it offers, requiring patience, creativity, and a little bit of technical know-how. This guide will walk you through every step to create your own thrilling Nascar diecast stop motion videos.
Understanding the Basics of Stop Motion
At its core, stop motion animation is a simple concept: take a picture, move the subject a tiny bit, take another picture, and repeat. Each individual picture is called a frame. The speed at which these frames are played back determines the smoothness of the animation. The more frames per second (FPS), the smoother the motion will appear. A standard frame rate for stop motion is typically between 12 and 24 FPS. Understanding this foundation is crucial because every movement of your diecast cars needs to be carefully planned and executed, ensuring each frame contributes to the overall narrative and visual appeal of your Nascar diecast stop motion video. Mastering the fundamentals of stop motion sets the stage for your creative journey, allowing you to experiment with different techniques and effects to create truly unique animations.
Essential Equipment for Nascar Diecast Stop Motion
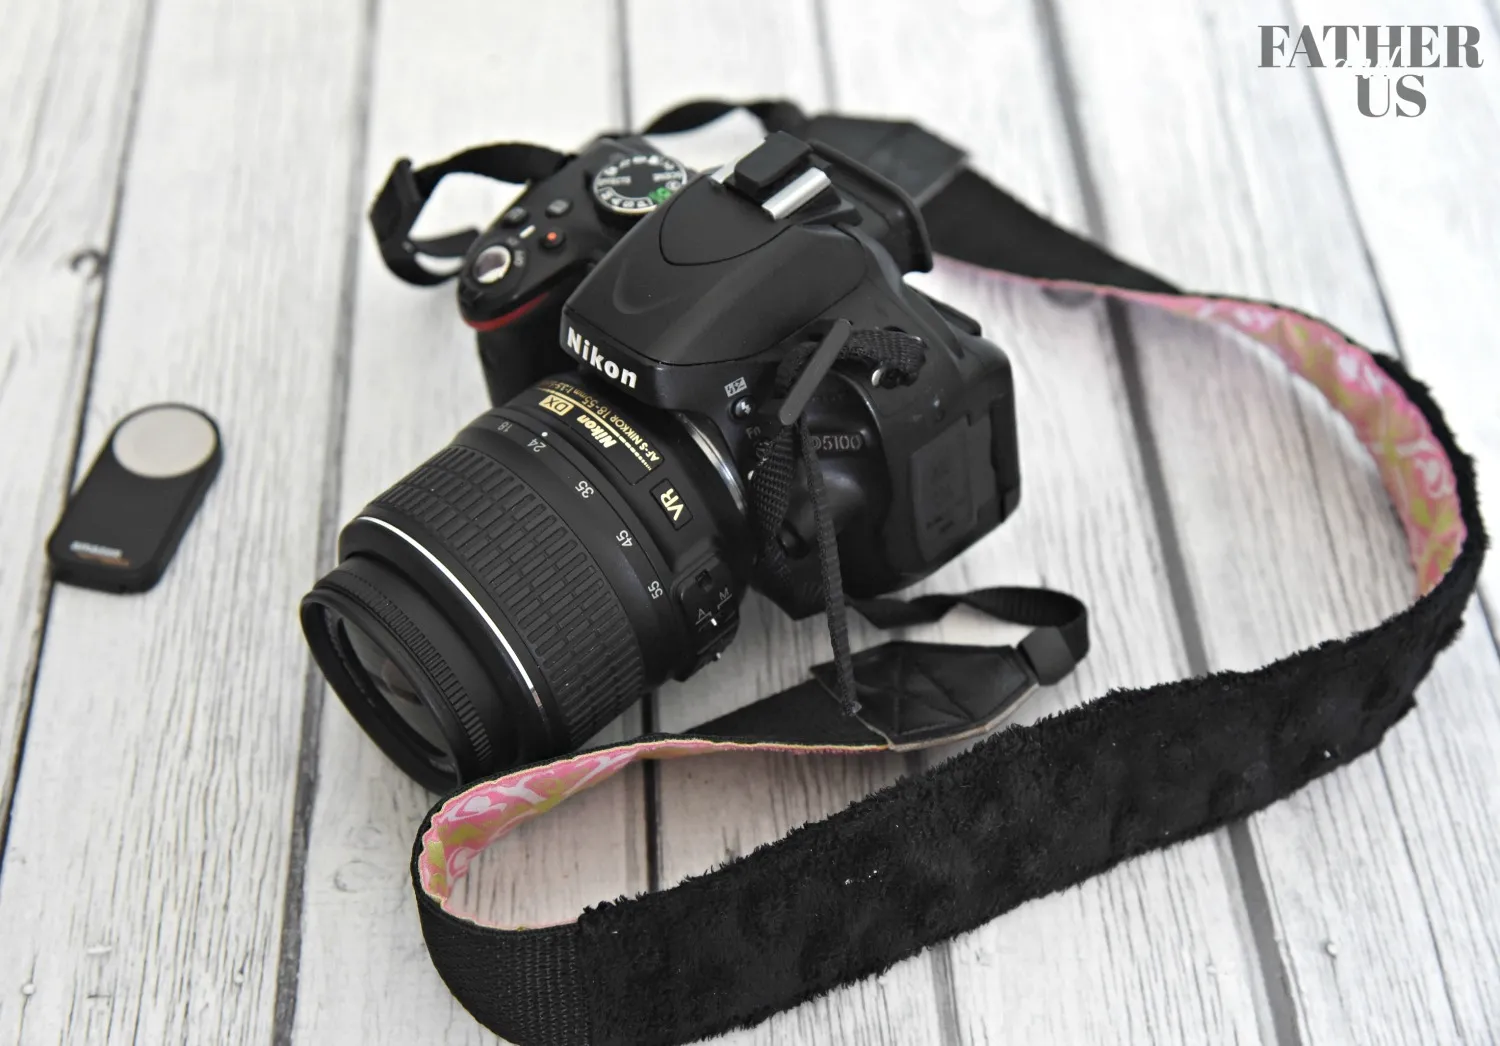
Creating stunning Nascar diecast stop motion videos doesn’t require expensive equipment, but having the right tools will significantly improve your results. You’ll need a camera, a tripod for stability, and adequate lighting. Additionally, you’ll need a computer or tablet to edit your photos and add sound and music. These essential pieces of equipment form the backbone of your stop motion setup, ensuring that you can capture high-quality images, maintain consistency throughout your animation, and bring your creative vision to life. With the right gear, you’ll be well-equipped to embark on your stop motion adventure. Remember, the quality of your animation largely depends on how well you use your equipment.
Camera Selection
You don’t need a professional camera to start. Most smartphones and tablets come with cameras capable of capturing excellent images for stop motion. The key is to ensure your camera can be set to manual focus, which allows you to lock the focus on your diecast cars. This prevents blurry images that can ruin the animation. If you’re using a dedicated camera, consider a DSLR or mirrorless camera with good image quality and manual controls. The higher the resolution, the better, as you’ll have more flexibility when editing and cropping your footage. Consider that some cameras have built-in features designed for stop motion that will help you with controlling the frames.
Tripod and Stabilizing Equipment
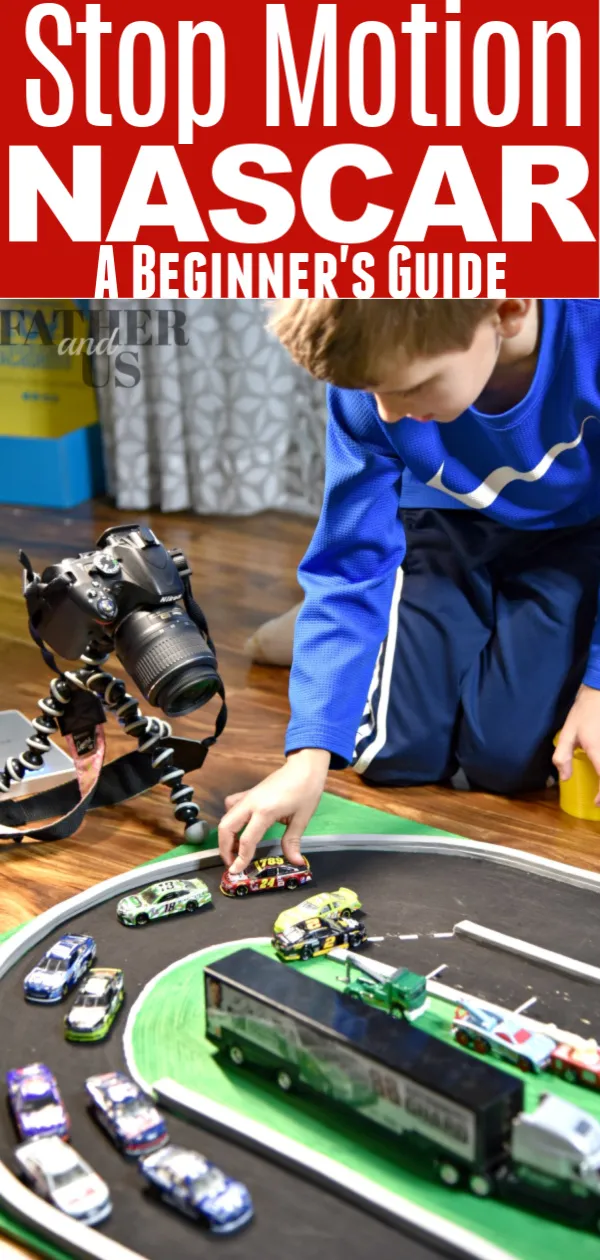
A stable camera is the most important factor in creating smooth stop motion. A tripod is essential to prevent camera shake and ensure consistent framing throughout your animation. Choose a sturdy tripod that can hold your camera securely. Consider using a remote shutter release or a self-timer to avoid bumping the camera while taking photos. You might also want to invest in a clamp or a table to keep your scene steady. Any small movement of the camera between frames will cause your animation to jump, so take all necessary steps to make your camera setup as sturdy as possible. It is worth investing in a good quality tripod to support your camera properly.
Lighting Setup
Consistent lighting is just as crucial as a stable camera. Changes in light intensity or color can be distracting and ruin the illusion of movement. Natural light can work, but it’s unreliable, especially if the weather changes. The best option is to use artificial light sources. Softbox lights are ideal because they provide even, diffused light, reducing harsh shadows. Position your lights to illuminate the scene without casting shadows that move as you adjust the cars. You can also use desk lamps with adjustable arms or any form of steady light you can find. The key is to maintain consistent lighting throughout your shoot to ensure a professional finish.
Choosing Your Nascar Diecast Cars
Select diecast cars that you find visually appealing and that fit the theme of your story. Consider factors such as detail, color, and overall condition. More detailed cars can add realism to your animation, and vibrant colors will make your video pop. Also, consider the size and weight of the cars; lighter cars are easier to move precisely, and smaller scales such as 1 64 can make your work easier. Make sure you have a variety of cars to create different scenes and characters. Additionally, think about the story you want to tell. Will it be a race, a pit stop, or a crash? The cars you choose will shape the narrative of your stop motion video.
Planning Your Nascar Diecast Stop Motion Video
Careful planning is the cornerstone of a successful stop motion project. Start by brainstorming ideas and developing a clear concept for your video. Think about the story you want to tell, the characters involved, and the setting. The more detailed your plan, the smoother the execution will be. A well-thought-out plan will help you avoid wasting time and resources. Consider making notes about what each scene will entail and write a script. You can also plan the shots to make sure your video is engaging. This step will save you much time and effort, making your stop motion video a much more efficient and enjoyable experience.
Creating a Storyboard
A storyboard is a visual roadmap of your animation, similar to a comic strip. It outlines each scene, including the action, camera angle, and any special effects. Sketch out each shot on paper, and include notes about the car positions, any movements, and the overall feel. This process helps you visualize the flow of your video and identify potential problems before you start filming. Think of each panel of your storyboard as a single frame in your stop motion video. A well-designed storyboard provides a framework and makes it much easier to keep track of all the frames. It ensures that every movement of your diecast cars serves the narrative.
Setting up the Scene
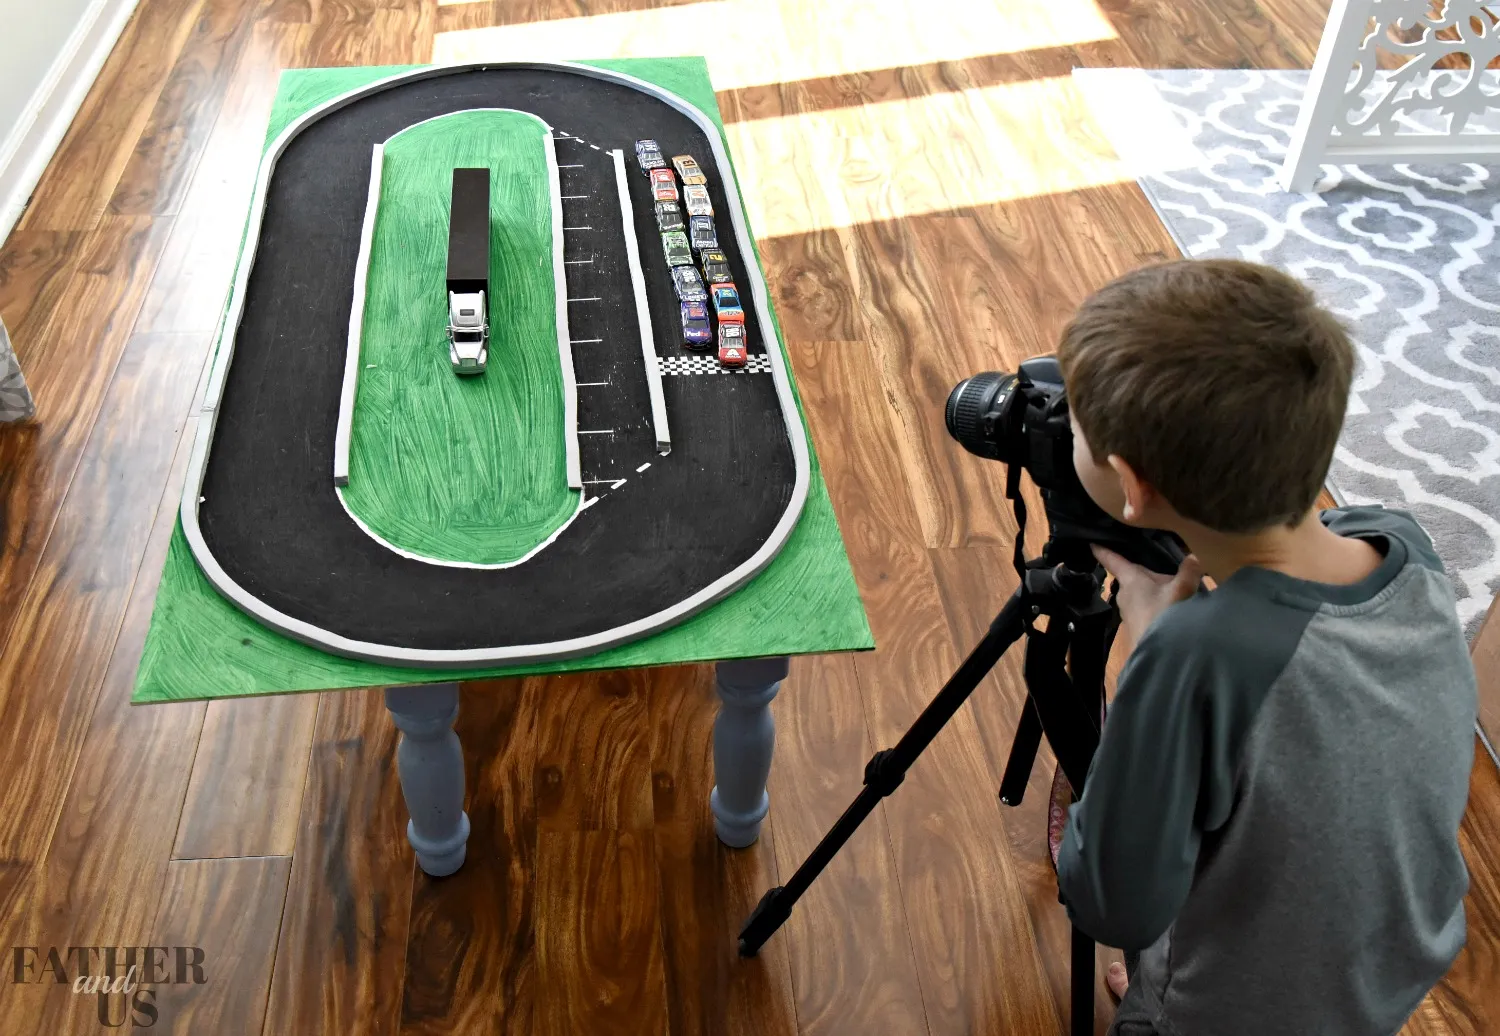
Setting up your scene is an important step and requires some creativity. Choose a surface to work on, such as a table or a piece of cardboard. Gather any props you need, such as buildings, trees, or other race-related items. Ensure your background is visually appealing and fits the theme. For example, a simple piece of blue paper can represent the sky or a race track surface. The key is to create a scene that enhances your story. Also, consider the lighting. Arrange your lights so that they illuminate the entire scene and do not cast distracting shadows. Once everything is in place, take a test shot to make sure everything looks the way you want it.
The Stop Motion Process
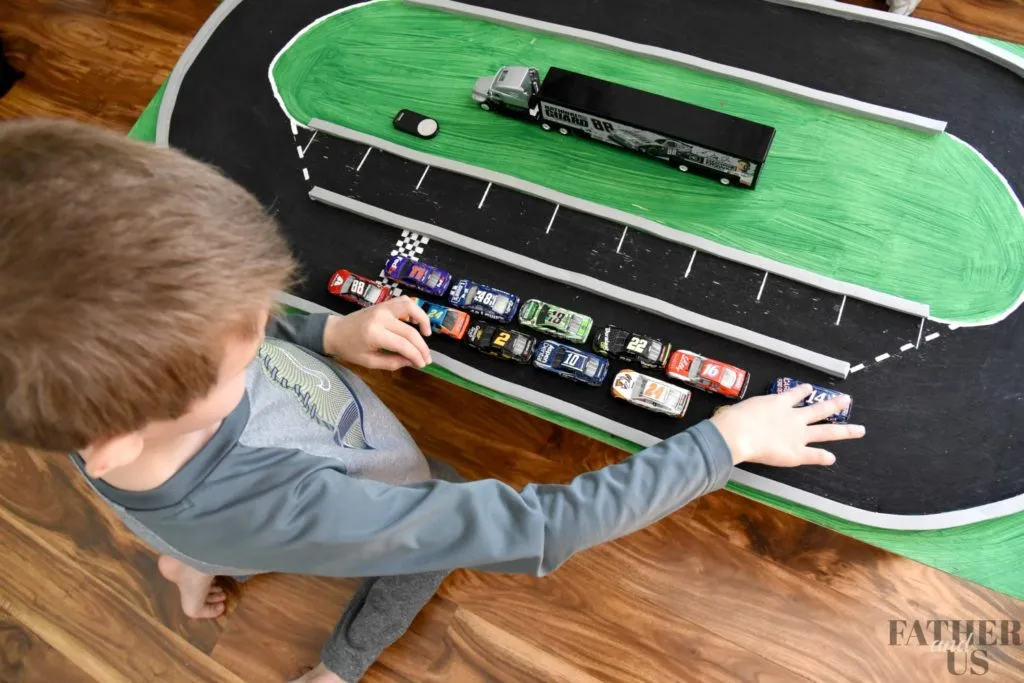
The stop motion process involves a repetitive cycle of small adjustments and photo captures. Start by positioning your diecast cars in the initial pose. Take a photo, and then make a tiny adjustment to the car’s position. Take another photo. Repeat this process, frame by frame, until you’ve completed the scene. The smaller the movements, the smoother the animation will appear. Patience is critical. Avoid making large movements between frames, and always double-check your camera’s framing before taking each picture. The more careful you are with each step, the better your final product will be. After each shot, it is wise to double-check the images.
Taking Photos
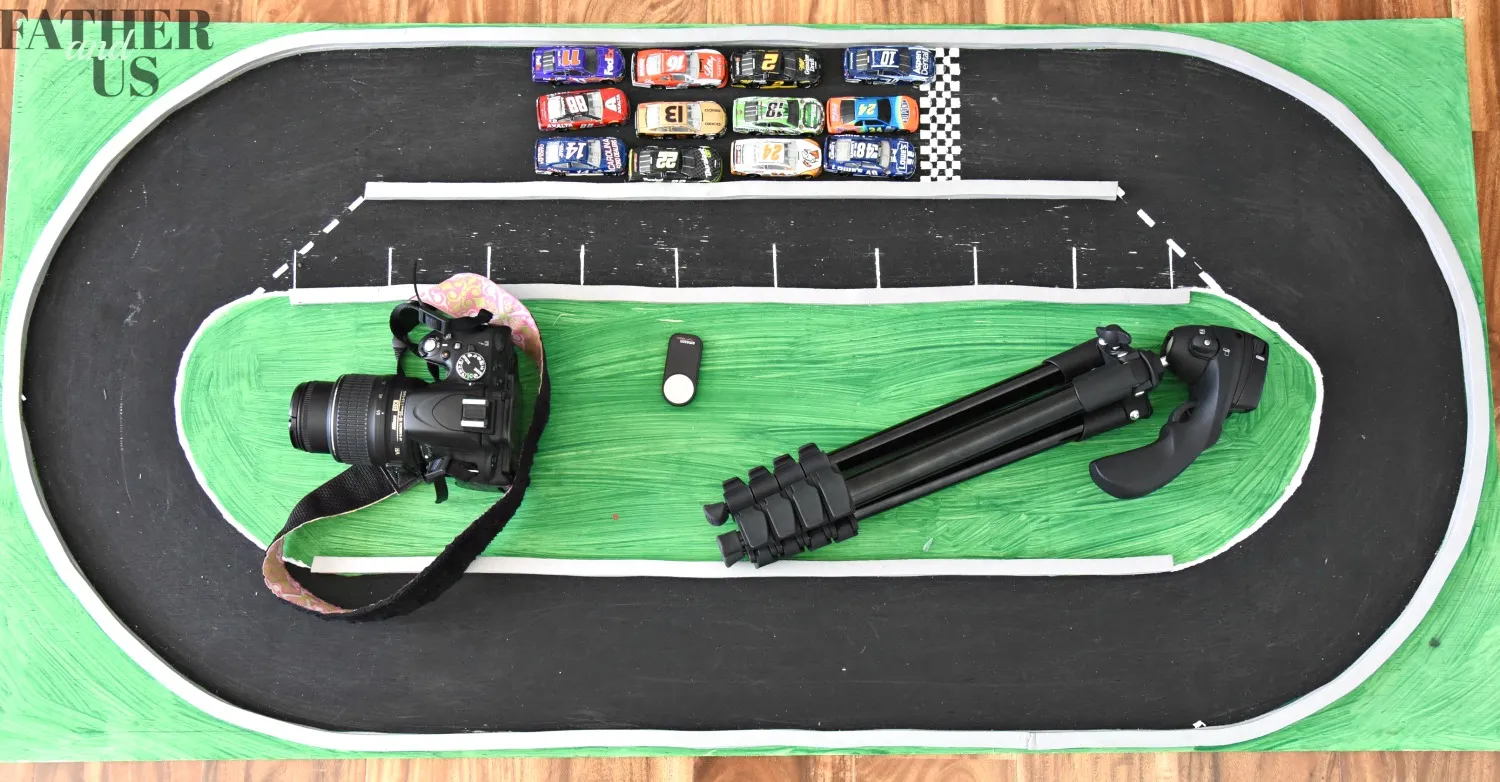
When taking photos, ensure your camera settings are consistent throughout. Use manual focus to avoid blurring and set the aperture to control depth of field. If the scene is well-lit, you can use a lower ISO to reduce noise. Consider using a remote shutter release or self-timer to prevent camera shake. As you take each photo, review the image on your camera to ensure the shot is focused and well-lit. If needed, retake the photo before moving the cars. It’s better to redo a frame now than to discover an error during editing. Also, make sure to save your photos in a safe location.
Frame Rate and Timing
Frame rate determines how smoothly your animation plays back. A frame rate of 12-24 FPS is typical. For example, 24 FPS will result in a more fluid animation than 12 FPS, but it also requires twice as many photos. Consider the desired length of your video. To calculate the number of frames, multiply the desired length in seconds by the FPS. For instance, a 10-second video at 12 FPS requires 120 frames, while at 24 FPS, you’ll need 240 frames. Proper timing is essential. When the cars are doing an action, they must move at a believable speed for that specific action. Be sure to plan out the timing of each movement in your storyboard, which can significantly influence the final result.
Editing Your Stop Motion Video
Once you have captured all your frames, it’s time to edit your video. This process involves compiling your photos into a sequence, adjusting the timing, and adding sound and visual effects. Choose an editing software that you’re comfortable with. Many free and paid options are available. Edit your images in a sequence. Review all the images to ensure there are no mistakes or unwanted movements. The editing stage is where you fine-tune the animation, correct any errors, and add the finishing touches that make your stop motion video shine. Be sure to check the sound and lighting. At this stage, you will need to make sure that your animation has all the necessary edits.
Software Options for Editing
Numerous software options are available for editing stop motion videos. Some popular choices include iMovie (for Mac users), Stop Motion Studio (available on iOS and Android), and Adobe Premiere Pro (paid). These programs offer a range of features, including the ability to import your photos, adjust frame rates, add transitions, and incorporate sound effects and music. Select software that suits your skill level and the complexity of your project. Consider trying out a few different programs before committing to one. Some offer free trials. Software will help to add the final touch to your animation.
Adding Sound Effects and Music
Adding sound effects and music can significantly enhance the impact of your stop motion animation. Sound brings your video to life and creates a more immersive experience. Use sound effects to emphasize movements and actions, like engine revs, crashes, or the sound of tires screeching. Choose music that complements the mood and theme of your video. Make sure the volume is balanced, and that sound effects do not overpower your music. Use the sound and music to enhance the storytelling of your video, and to make your video more engaging to the audience.
Tips for Advanced Nascar Diecast Stop Motion
Once you have mastered the basics, you can explore advanced techniques to make your stop motion videos even more impressive. Adding special effects and experimenting with different shooting angles can elevate your animations. Try using multiple layers to create depth or using green screens to add backgrounds. Practice these more advanced techniques to push your creativity. Using more advanced techniques will allow you to add special effects, like motion blur or realistic crashes. With these advanced techniques, your videos will stand out from the rest. Be patient and willing to experiment.
Adding Special Effects
Special effects can enhance the visual appeal of your stop motion videos. Use software to add effects like motion blur, explosions, or sparks. To create motion blur, take multiple photos in quick succession while slightly moving the car. You can also add visual effects during the editing process. If you want to simulate a crash, take a shot of the car before, during, and after the crash. This will require planning and patience. The key is to integrate the effects seamlessly into your animation to create a more dynamic and engaging experience. Special effects can help to make your video pop and draw viewers into the action.
Troubleshooting Common Issues
Encountering problems is a part of the stop motion process, so be prepared to troubleshoot common issues. Blurry images are a sign that your camera or focus needs adjustment. Make sure the camera is locked in position. If your animation appears jerky, it might be the frame rate or inconsistencies in movement. Review each frame. Another common problem is inconsistent lighting. Make sure that your light source remains constant throughout the shoot. Sometimes, you might accidentally bump the camera or move the setup. Keep track of your photos and edit them for any mistakes. Don’t give up. Every mistake is a learning opportunity. With each video, you will improve the quality of your work.
Showcasing Your Nascar Diecast Stop Motion Video
Once your stop motion video is complete, it’s time to share your work. Upload your video to YouTube, Vimeo, or other video-sharing platforms. Optimize your video title, description, and tags with relevant keywords, such as “Nascar,” “stop motion,” and “diecast.” Share your video on social media platforms like Facebook, Instagram, and Twitter to reach a wider audience. Engage with your viewers by responding to comments and asking for feedback. Consider entering your video into stop motion film festivals or competitions to gain recognition. Showcasing your Nascar diecast stop motion video is a great way to receive feedback and share your creation with the world.
